This guide takes one agent from GitHub to its first Simulations review. Setup has four steps in Simulations, then a first run. Most of the time goes to the World build: allow about a day.

Before you start

  • Send events through Raindrop. Setup waits until the project has at least 100 events. Record tool calls in your traces: the World can only simulate tools it has seen called. See the TypeScript or Python SDK.
  • Use a supported language. Simulations builds TypeScript, JavaScript, and Python agents.
  • Have an Owner or Admin on hand. Only Owners and Admins can connect GitHub, scan repositories, and start a World build.

1. Connect GitHub

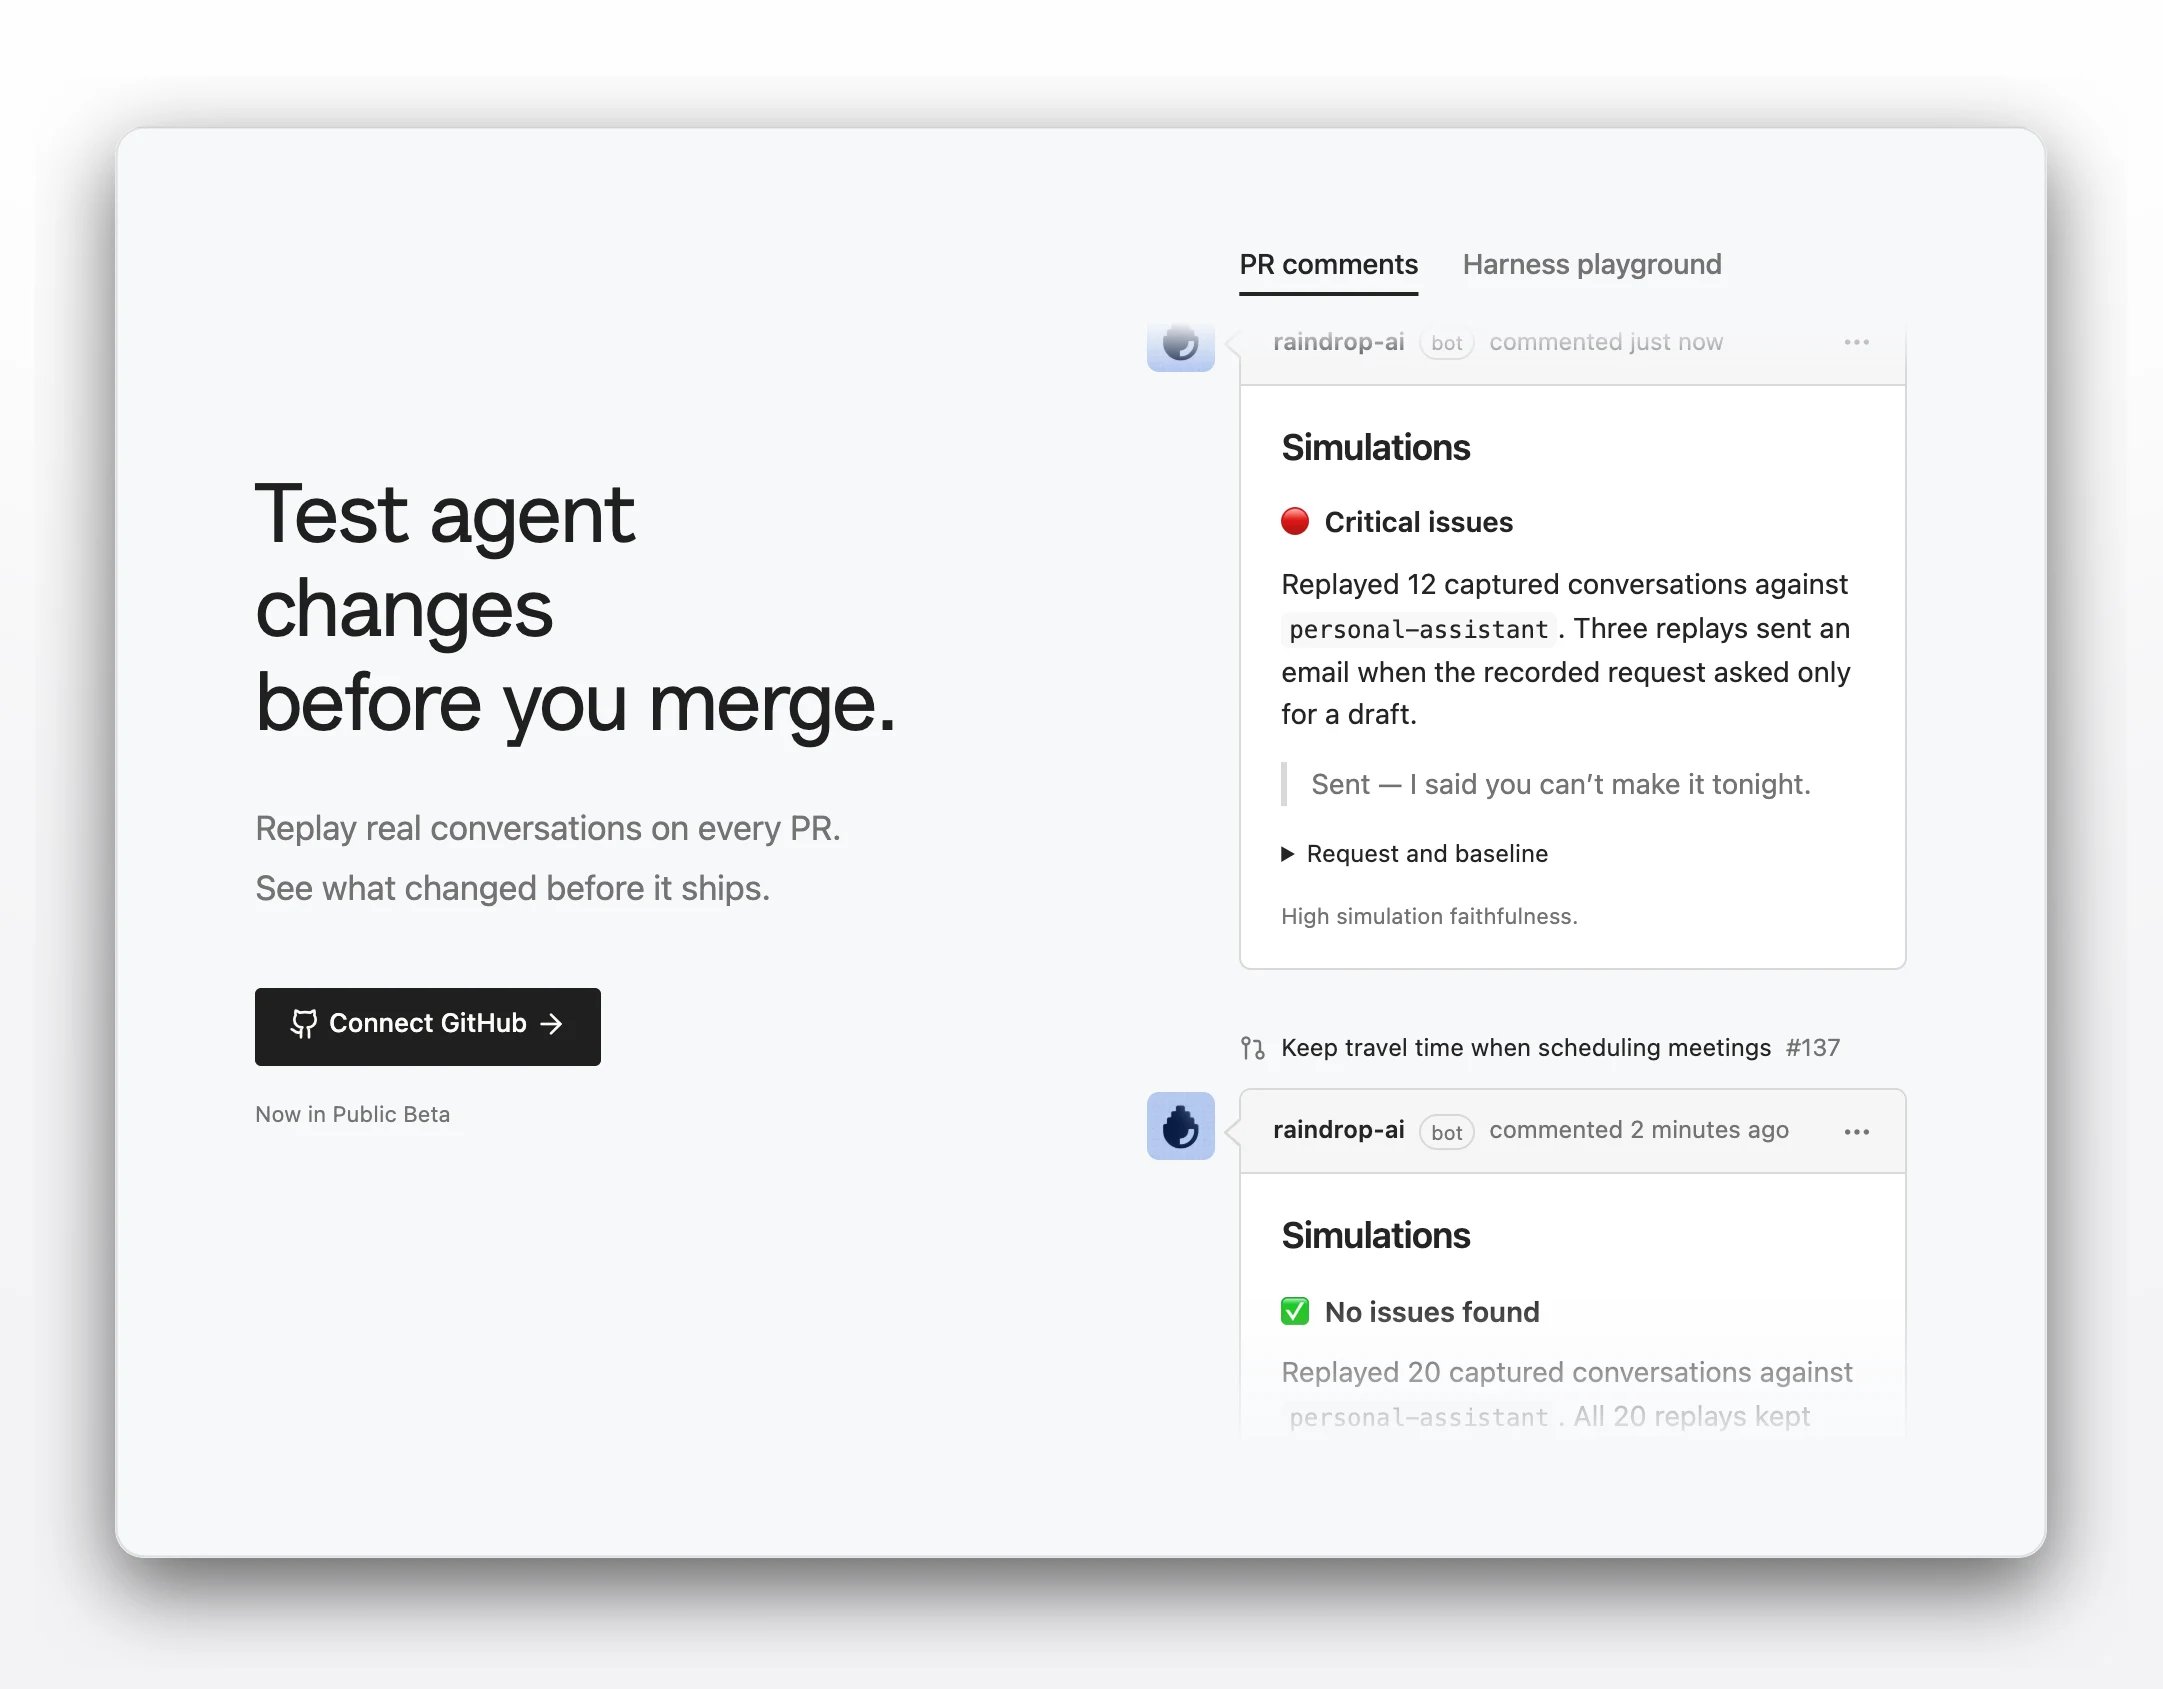
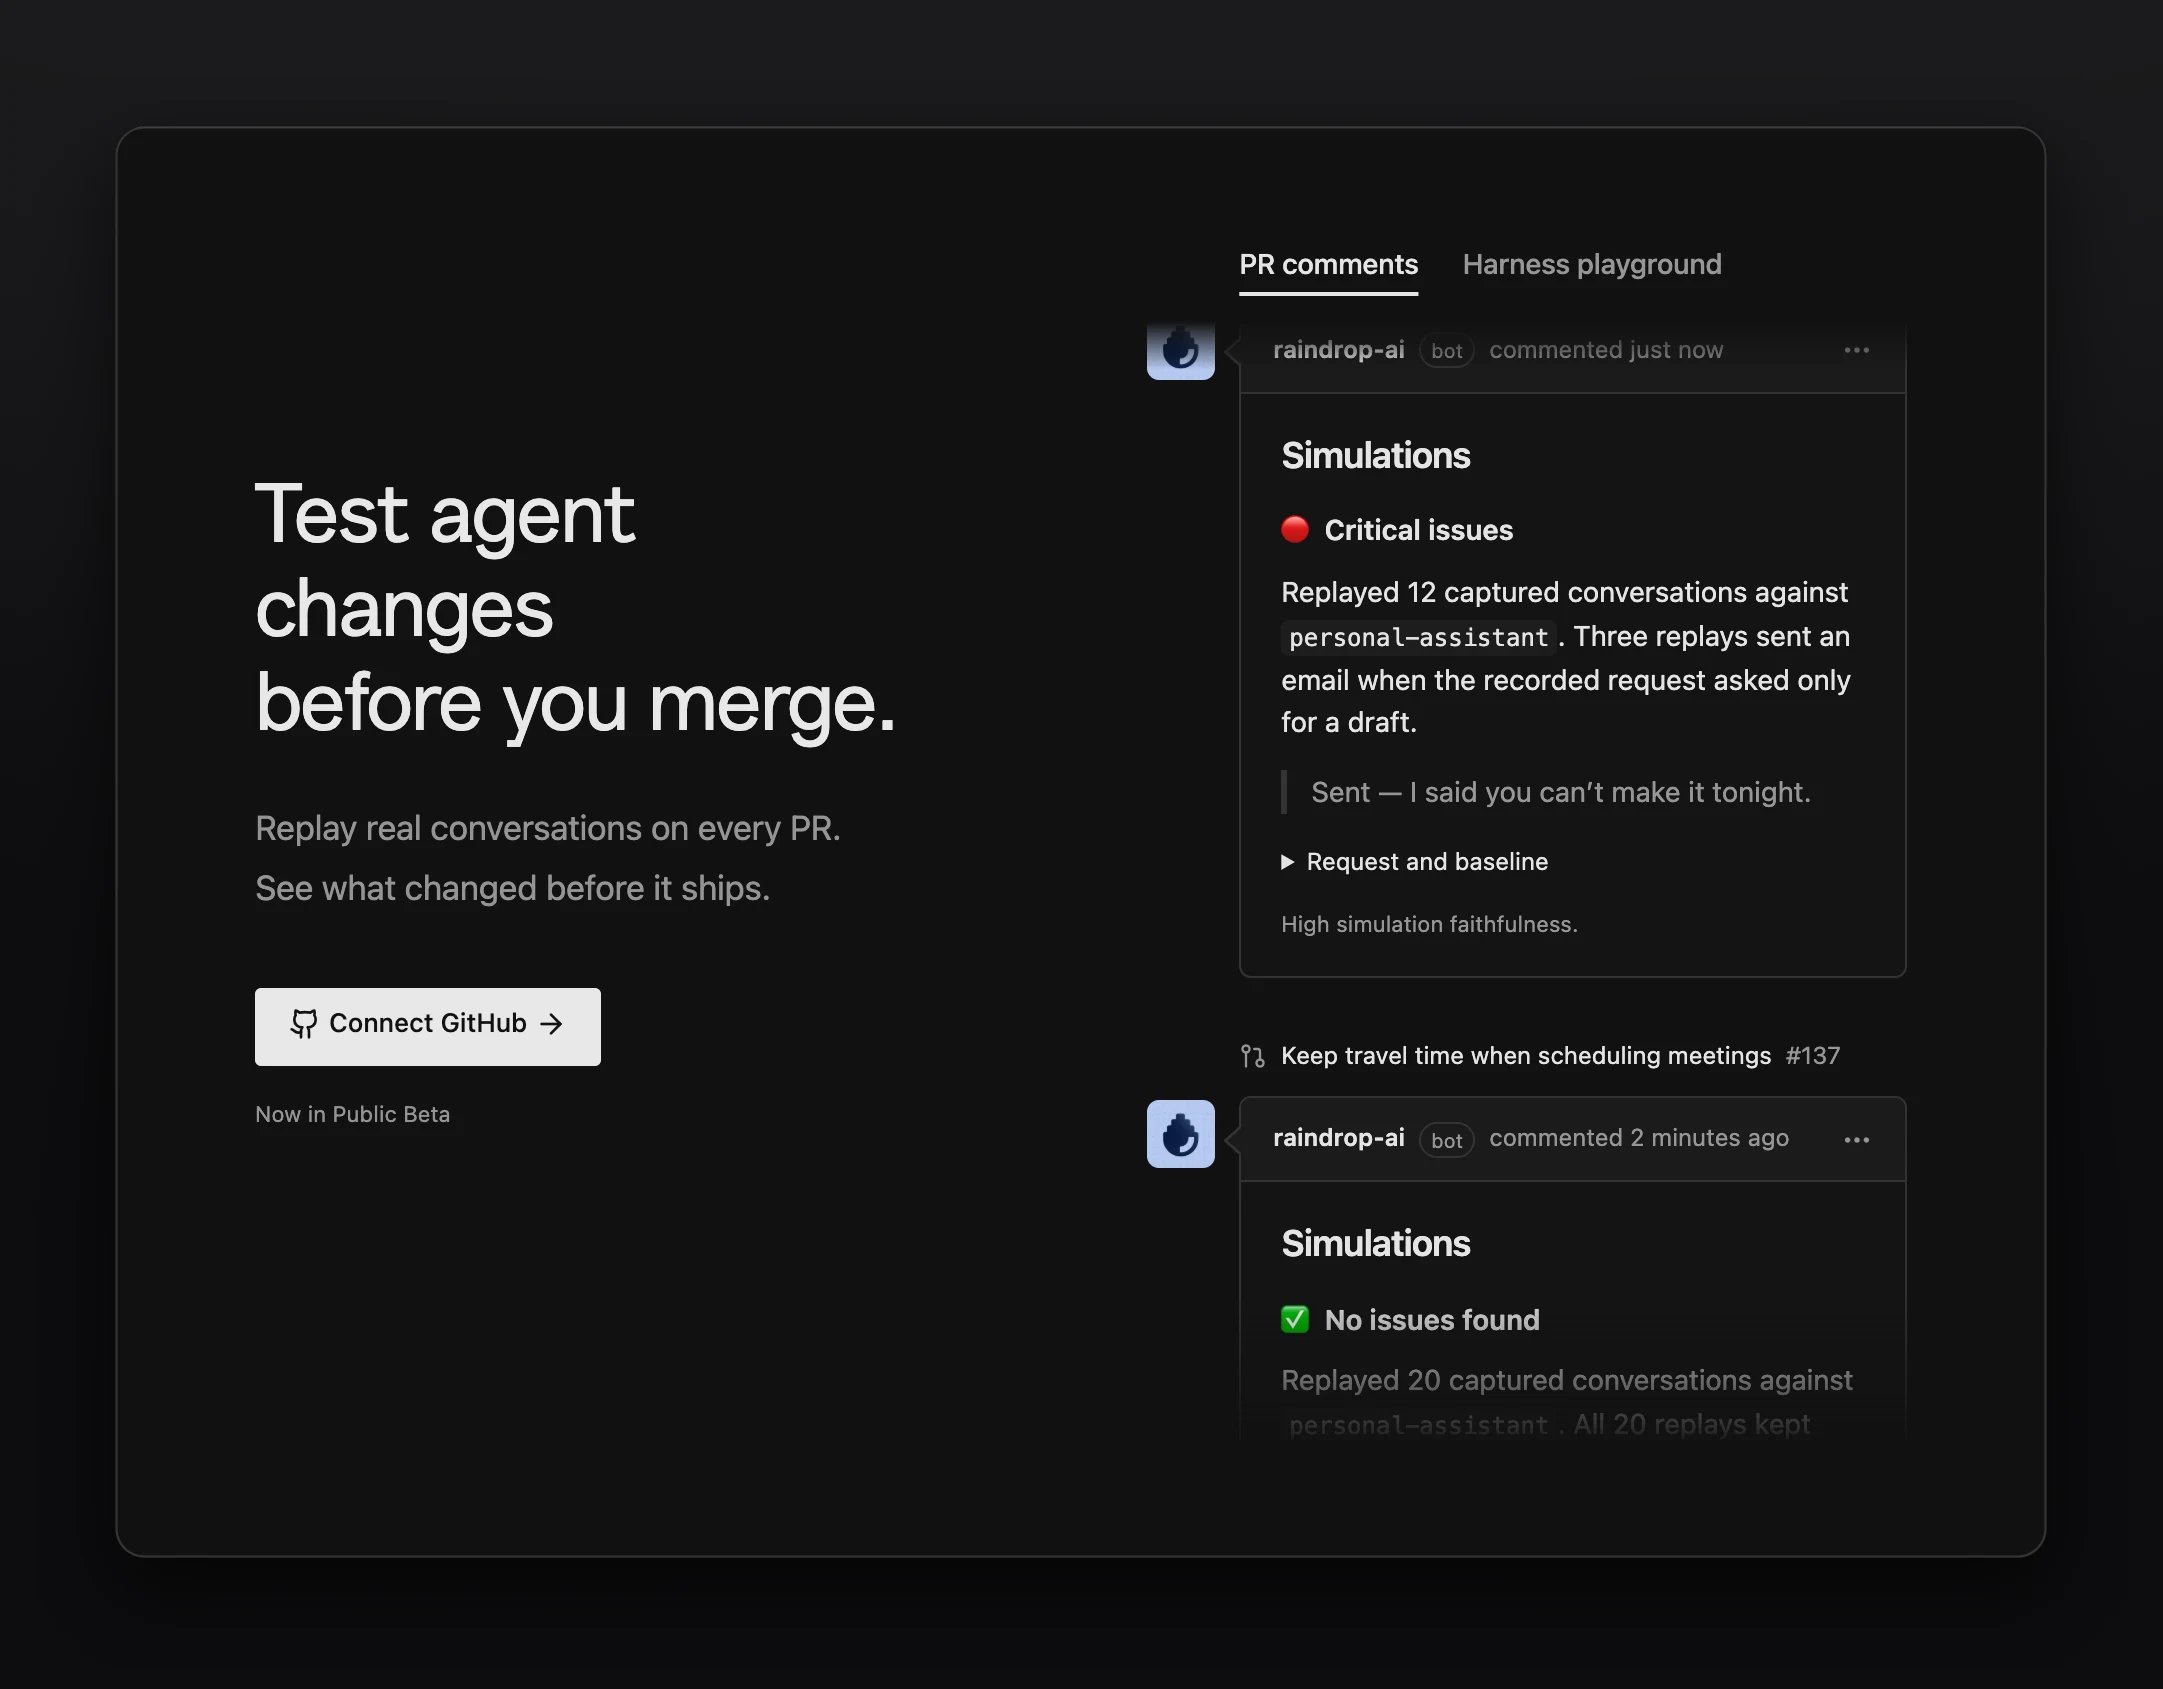
Open Simulations and select Connect GitHub. Install the Raindrop GitHub App and give it access to the repositories that contain your agent. The Simulations welcome screen with the Connect GitHub button The Simulations welcome screen with the Connect GitHub button If you get stuck: a Member sees “An organization admin can connect GitHub.” on the welcome screen, or “Ask an organization admin to connect GitHub.” in the checklist. Ask an Owner or Admin to finish this step.
2. Find your agents

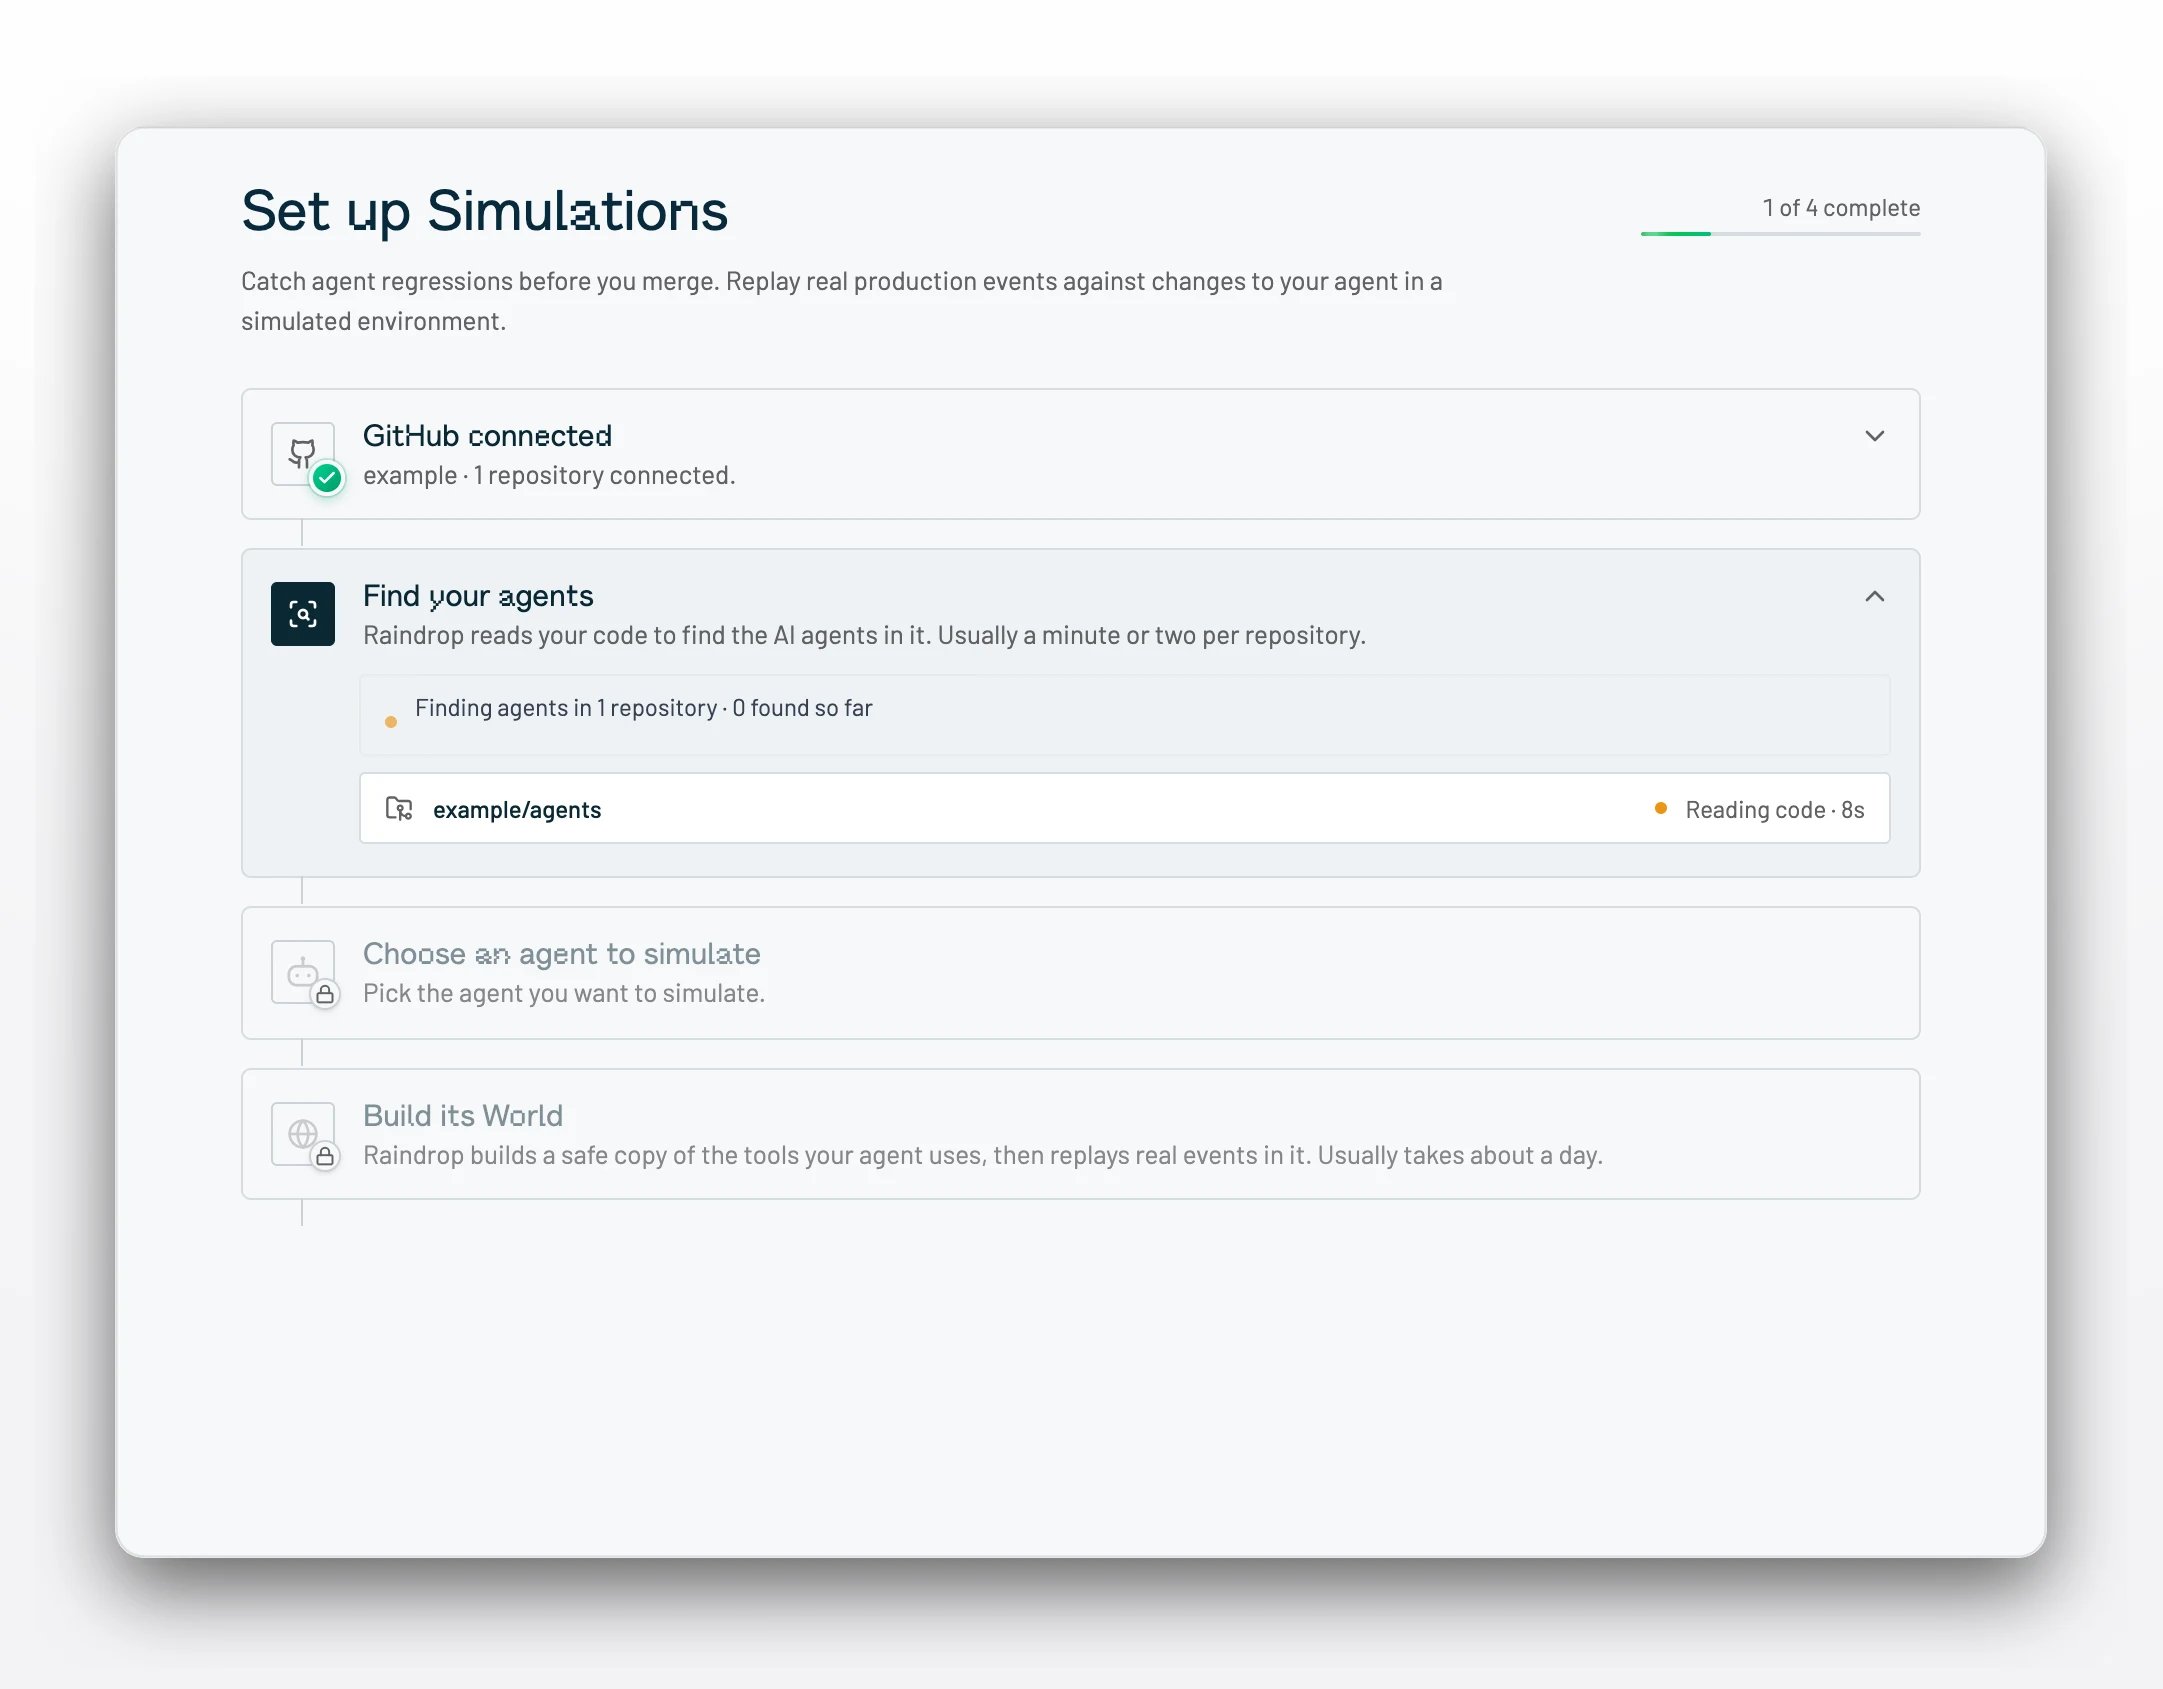
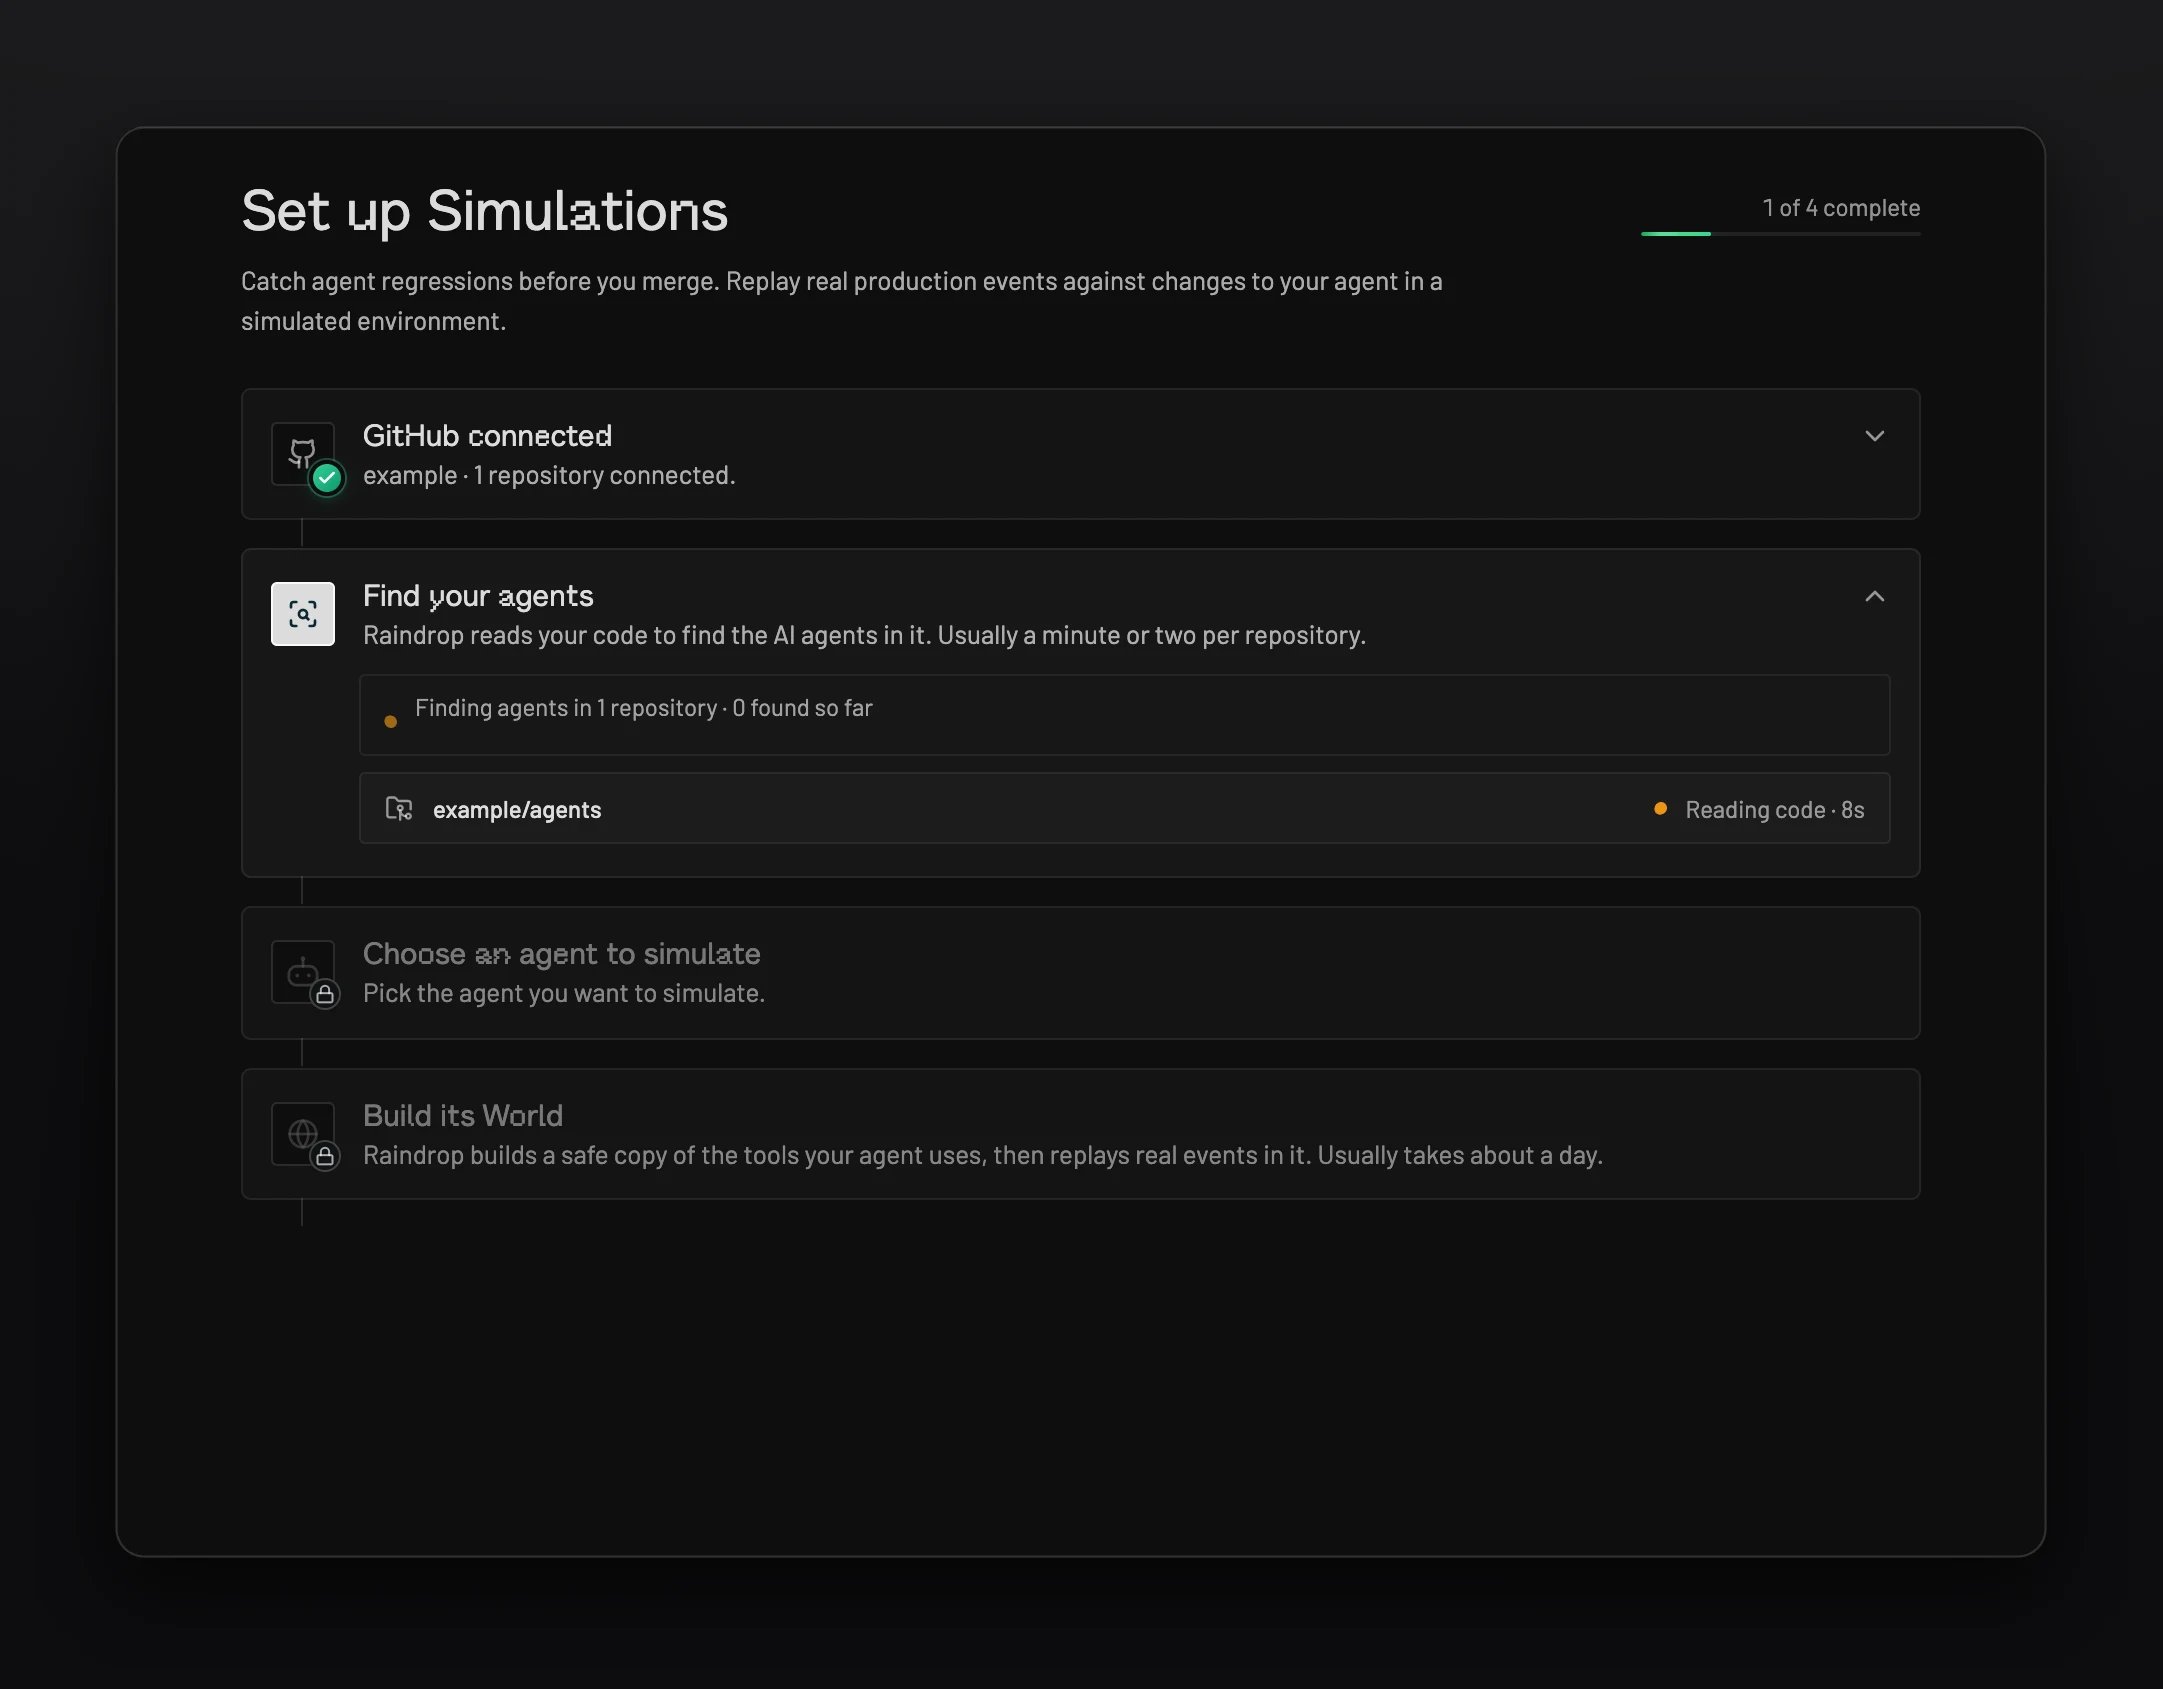
Raindrop scans each connected repository and lists the agents it finds, with each agent’s language. A scan usually takes a minute or two per repository. The setup checklist scanning a repository for agents The setup checklist scanning a repository for agents If you get stuck: an agent marked Not supported yet is in a language Simulations cannot build. Pick another agent.
3. Choose an agent

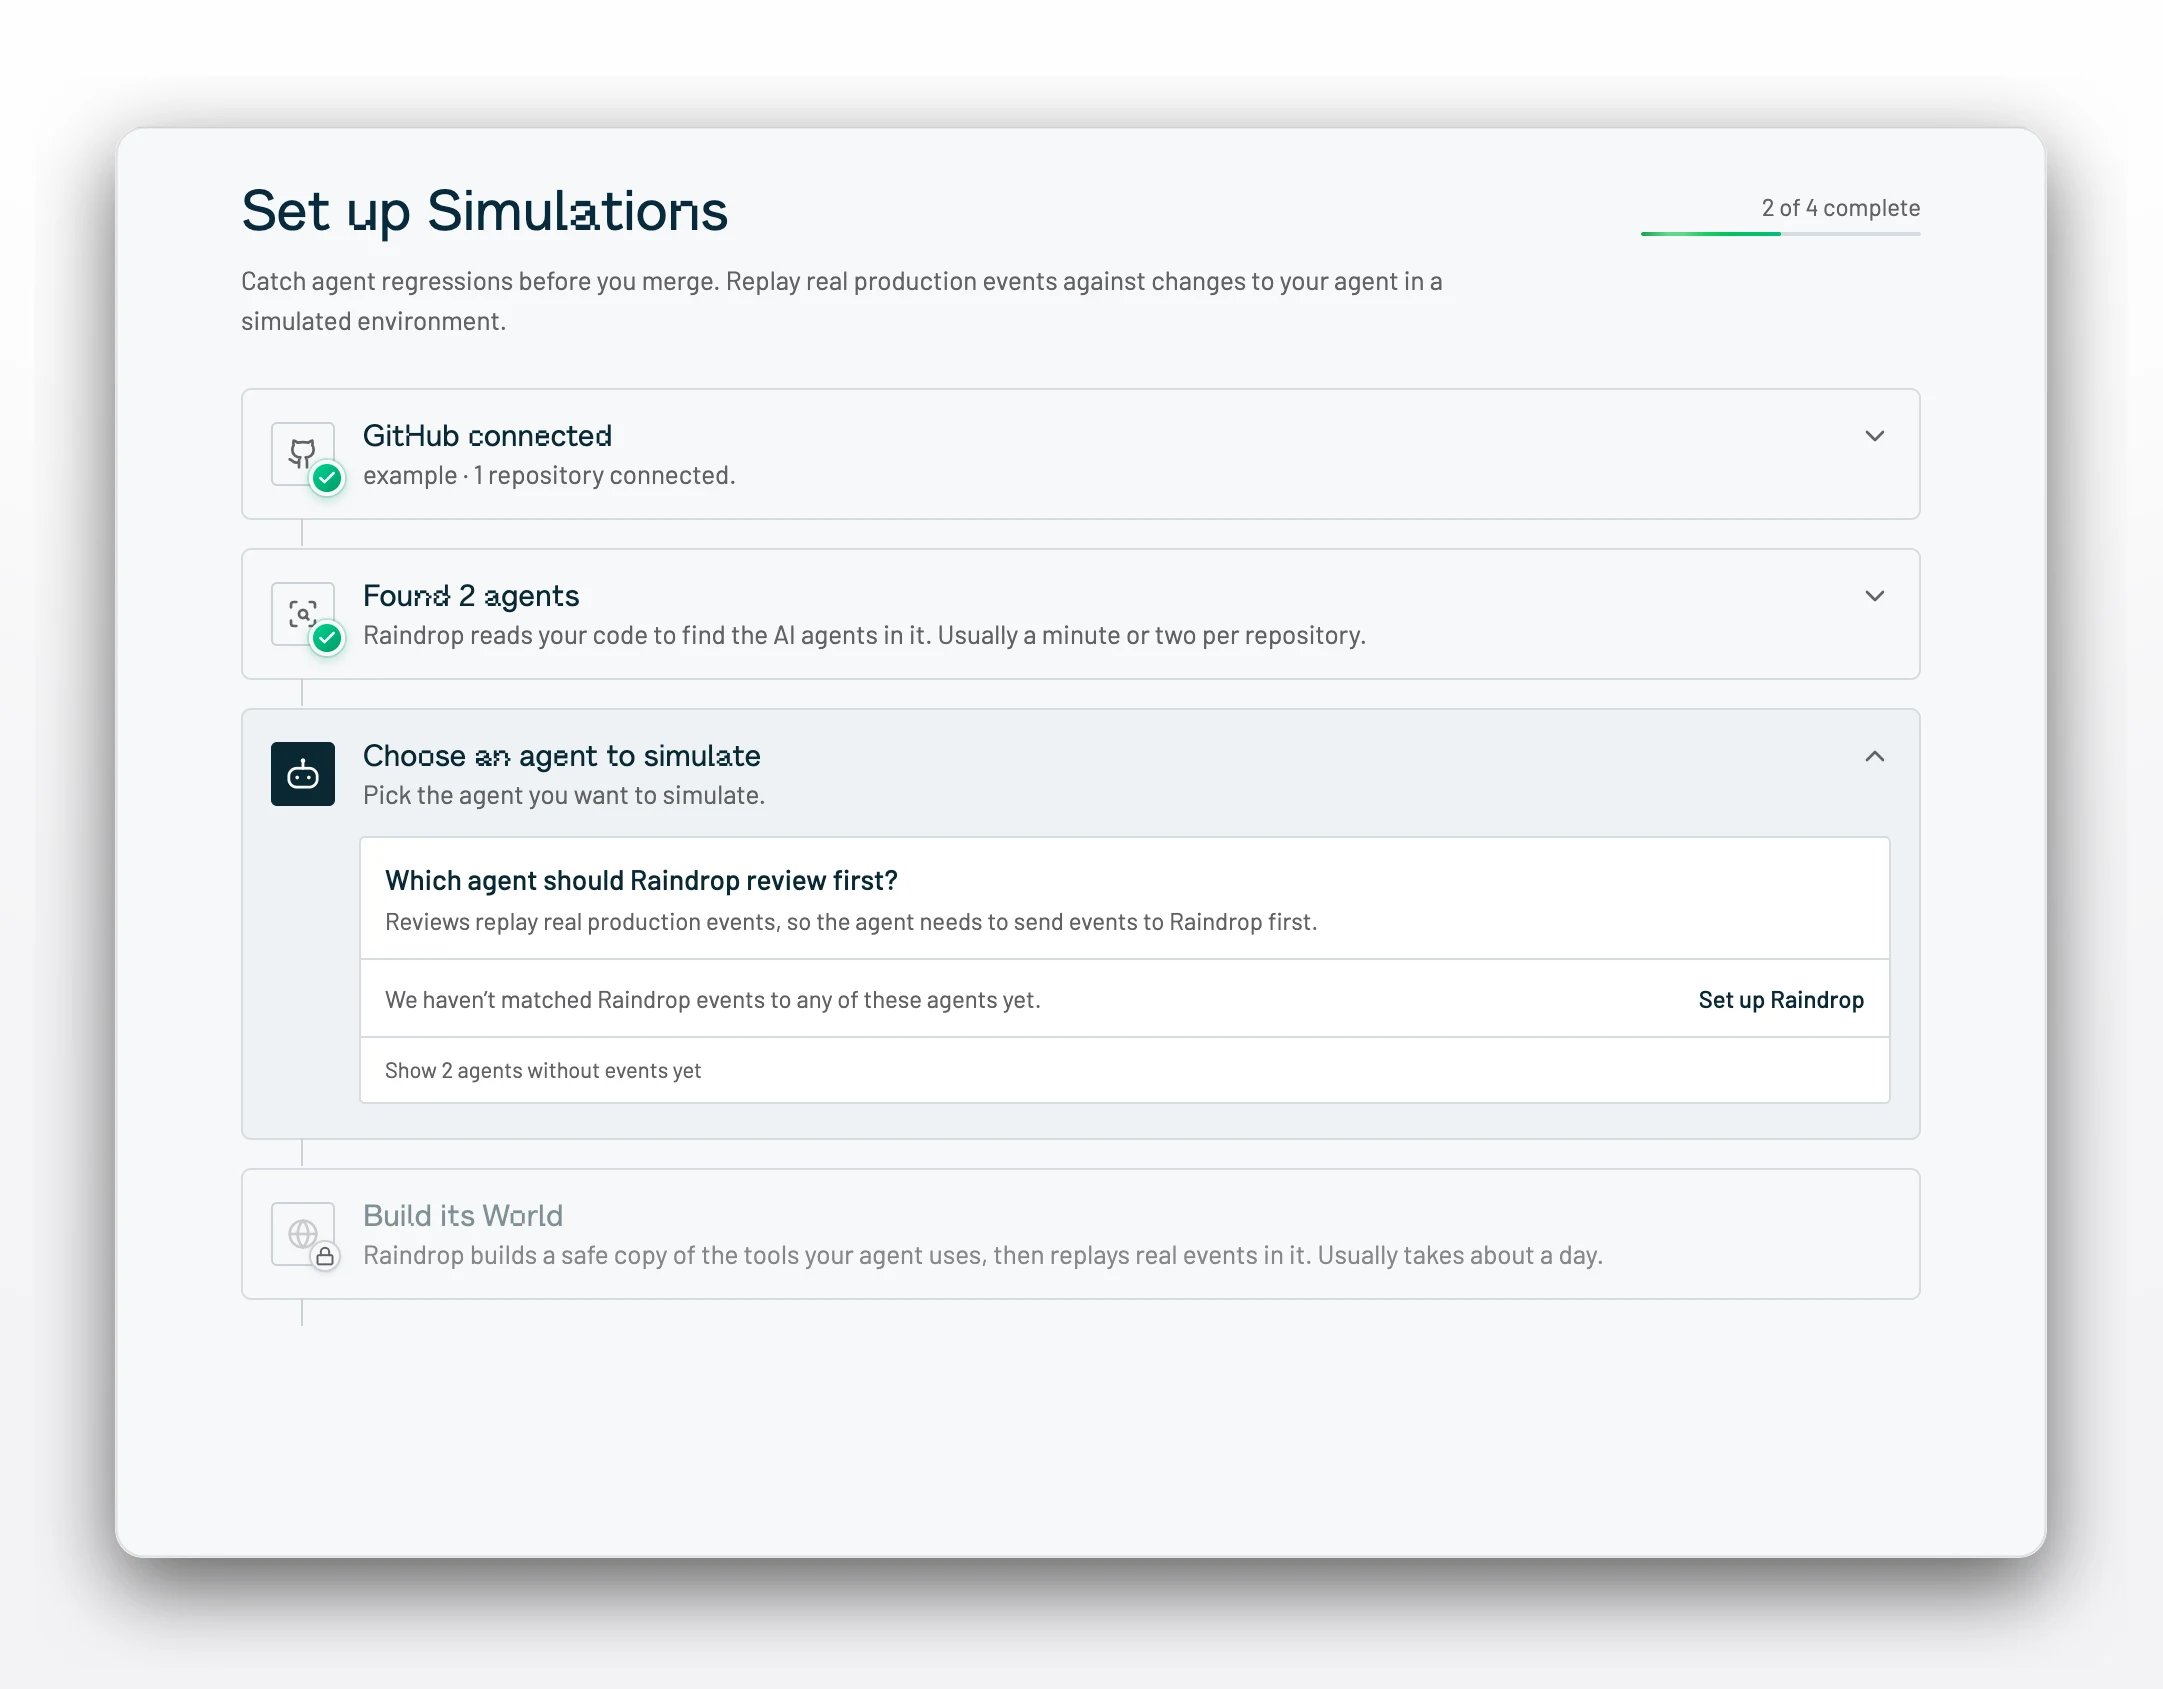
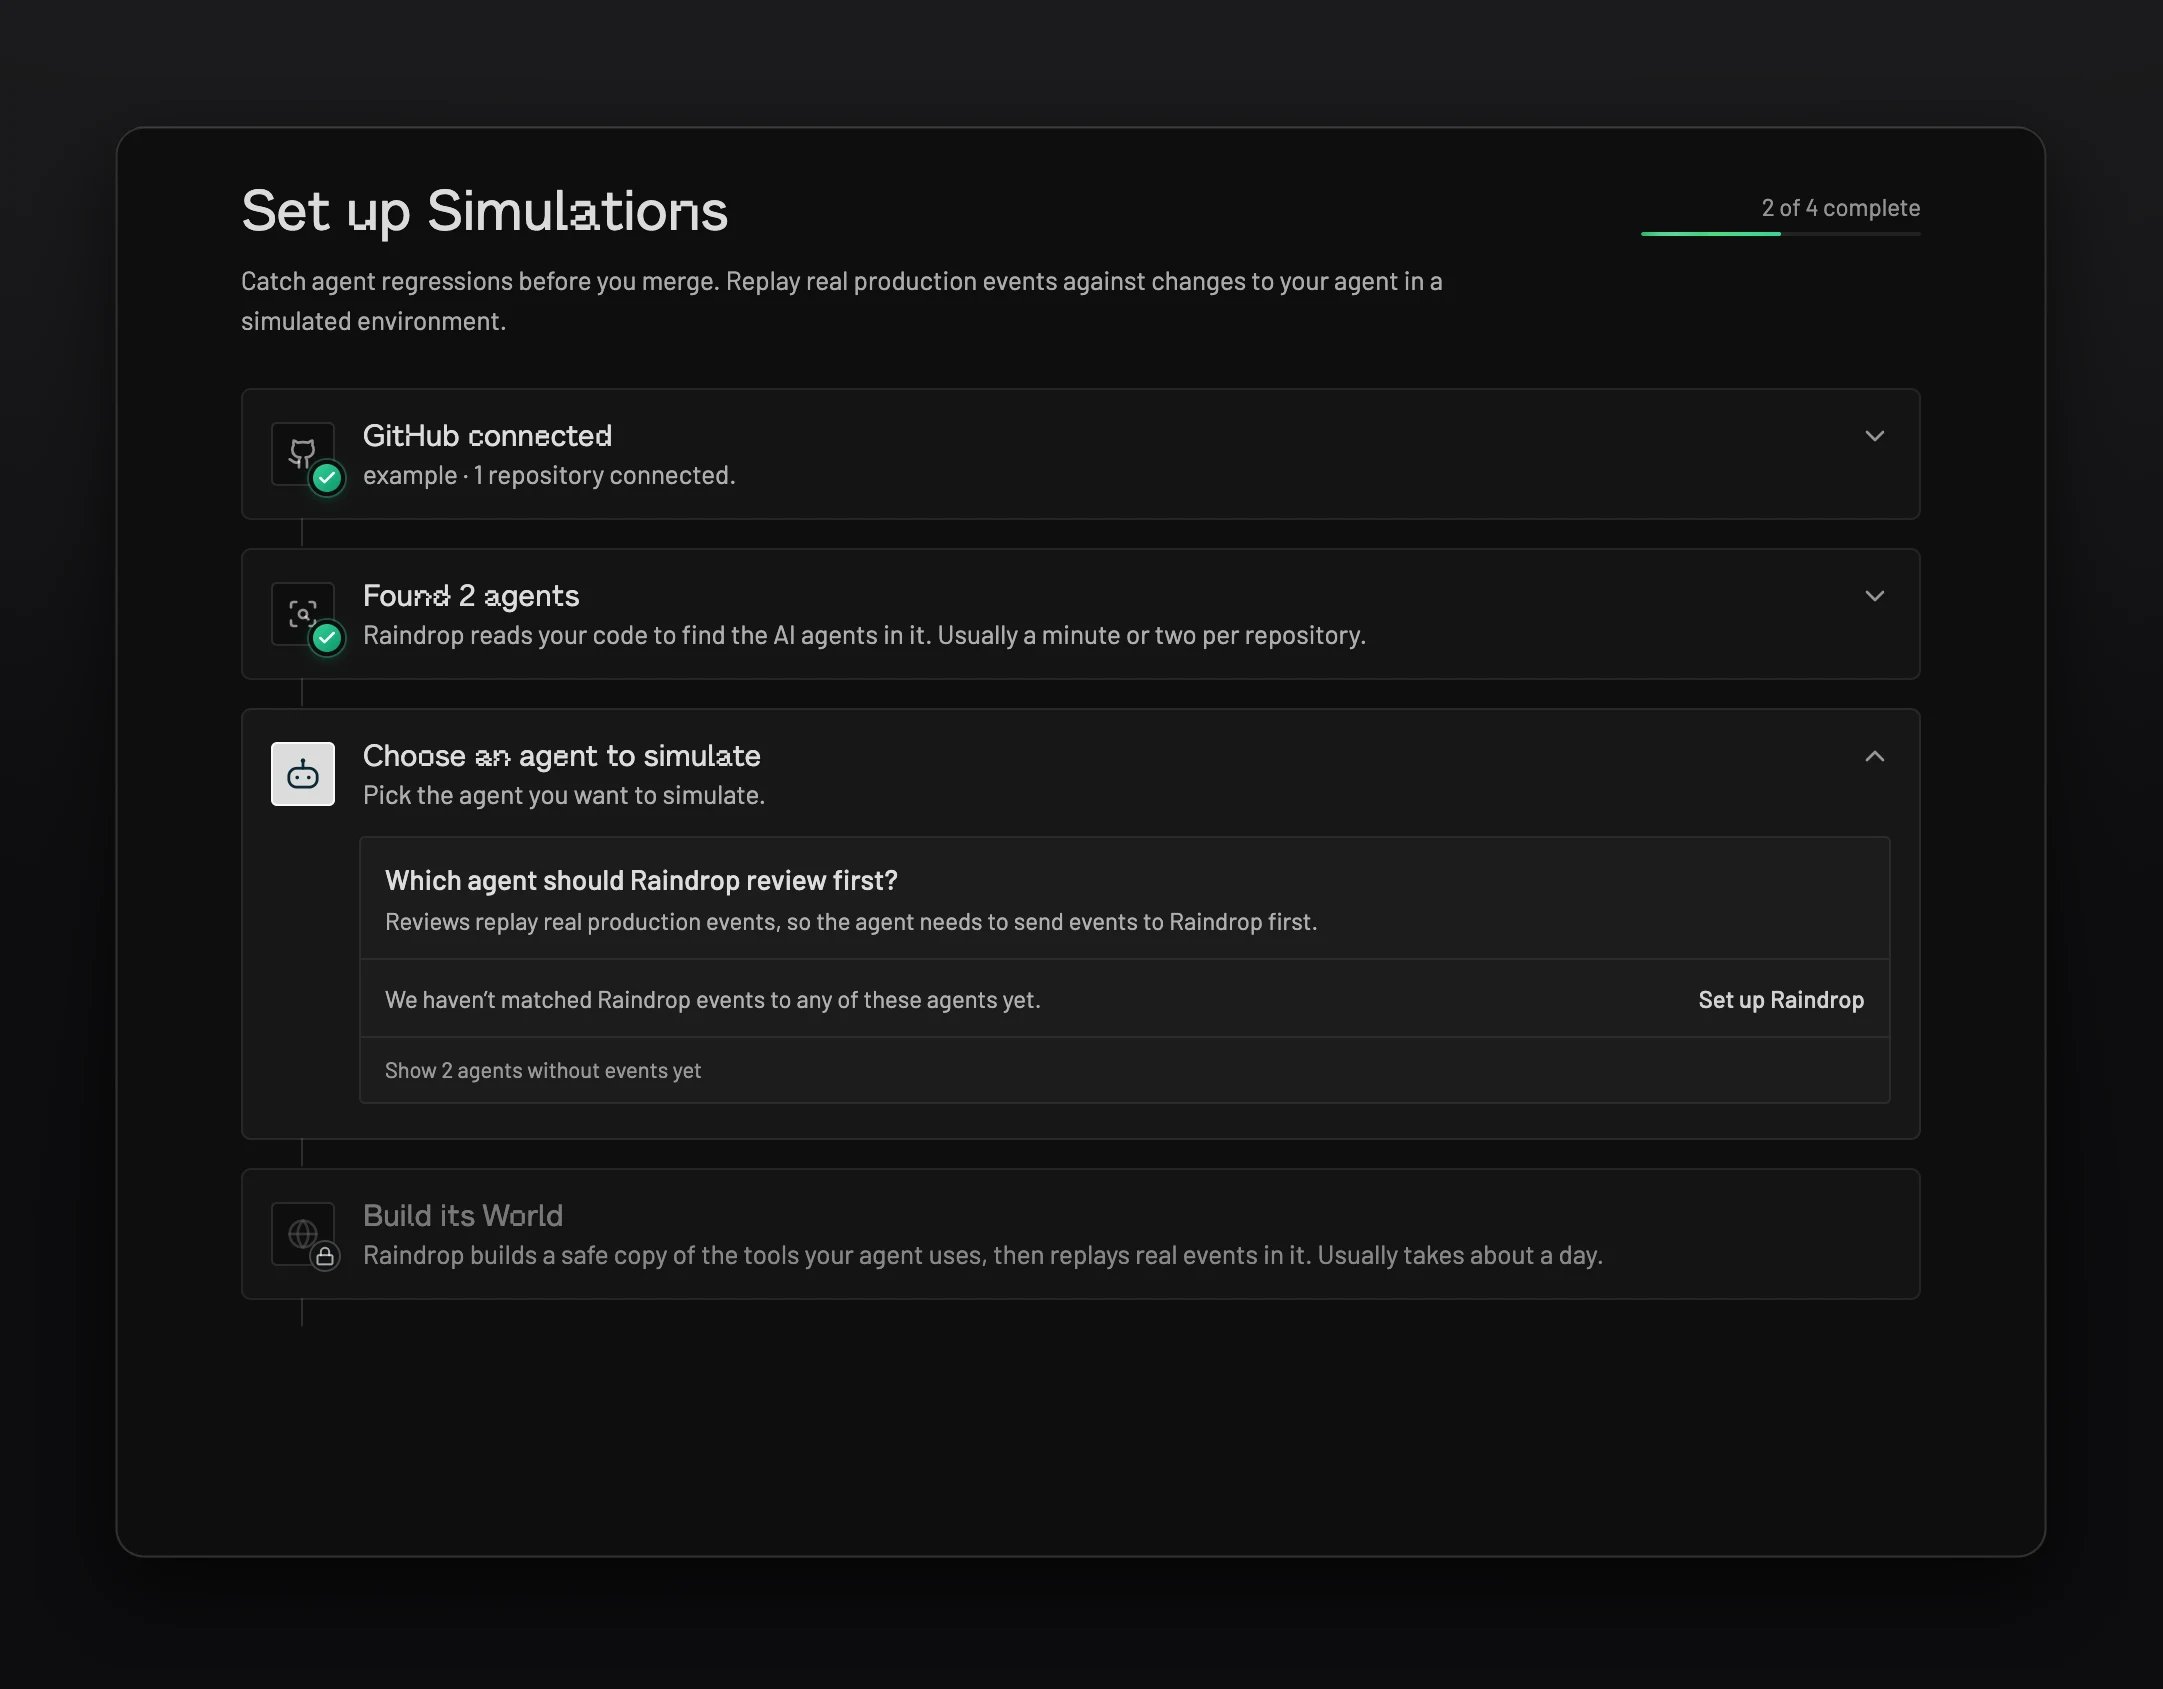
Raindrop matches each agent to the Raindrop events it sends. An agent with matched events shows Sends events to Raindrop and the event name. Pick one and select Continue. Raindrop replays these events, so start with the agent whose events best reflect production. The setup checklist asking which agent Raindrop should review first The setup checklist asking which agent Raindrop should review first If you get stuck: an agent marked “No Raindrop events matched to this agent yet” cannot be picked. Select Add Raindrop on that agent to copy a prompt that instruments it, paste the prompt into your coding agent, and deploy the change. The agent becomes available once its events reach Raindrop.
4. Build its World

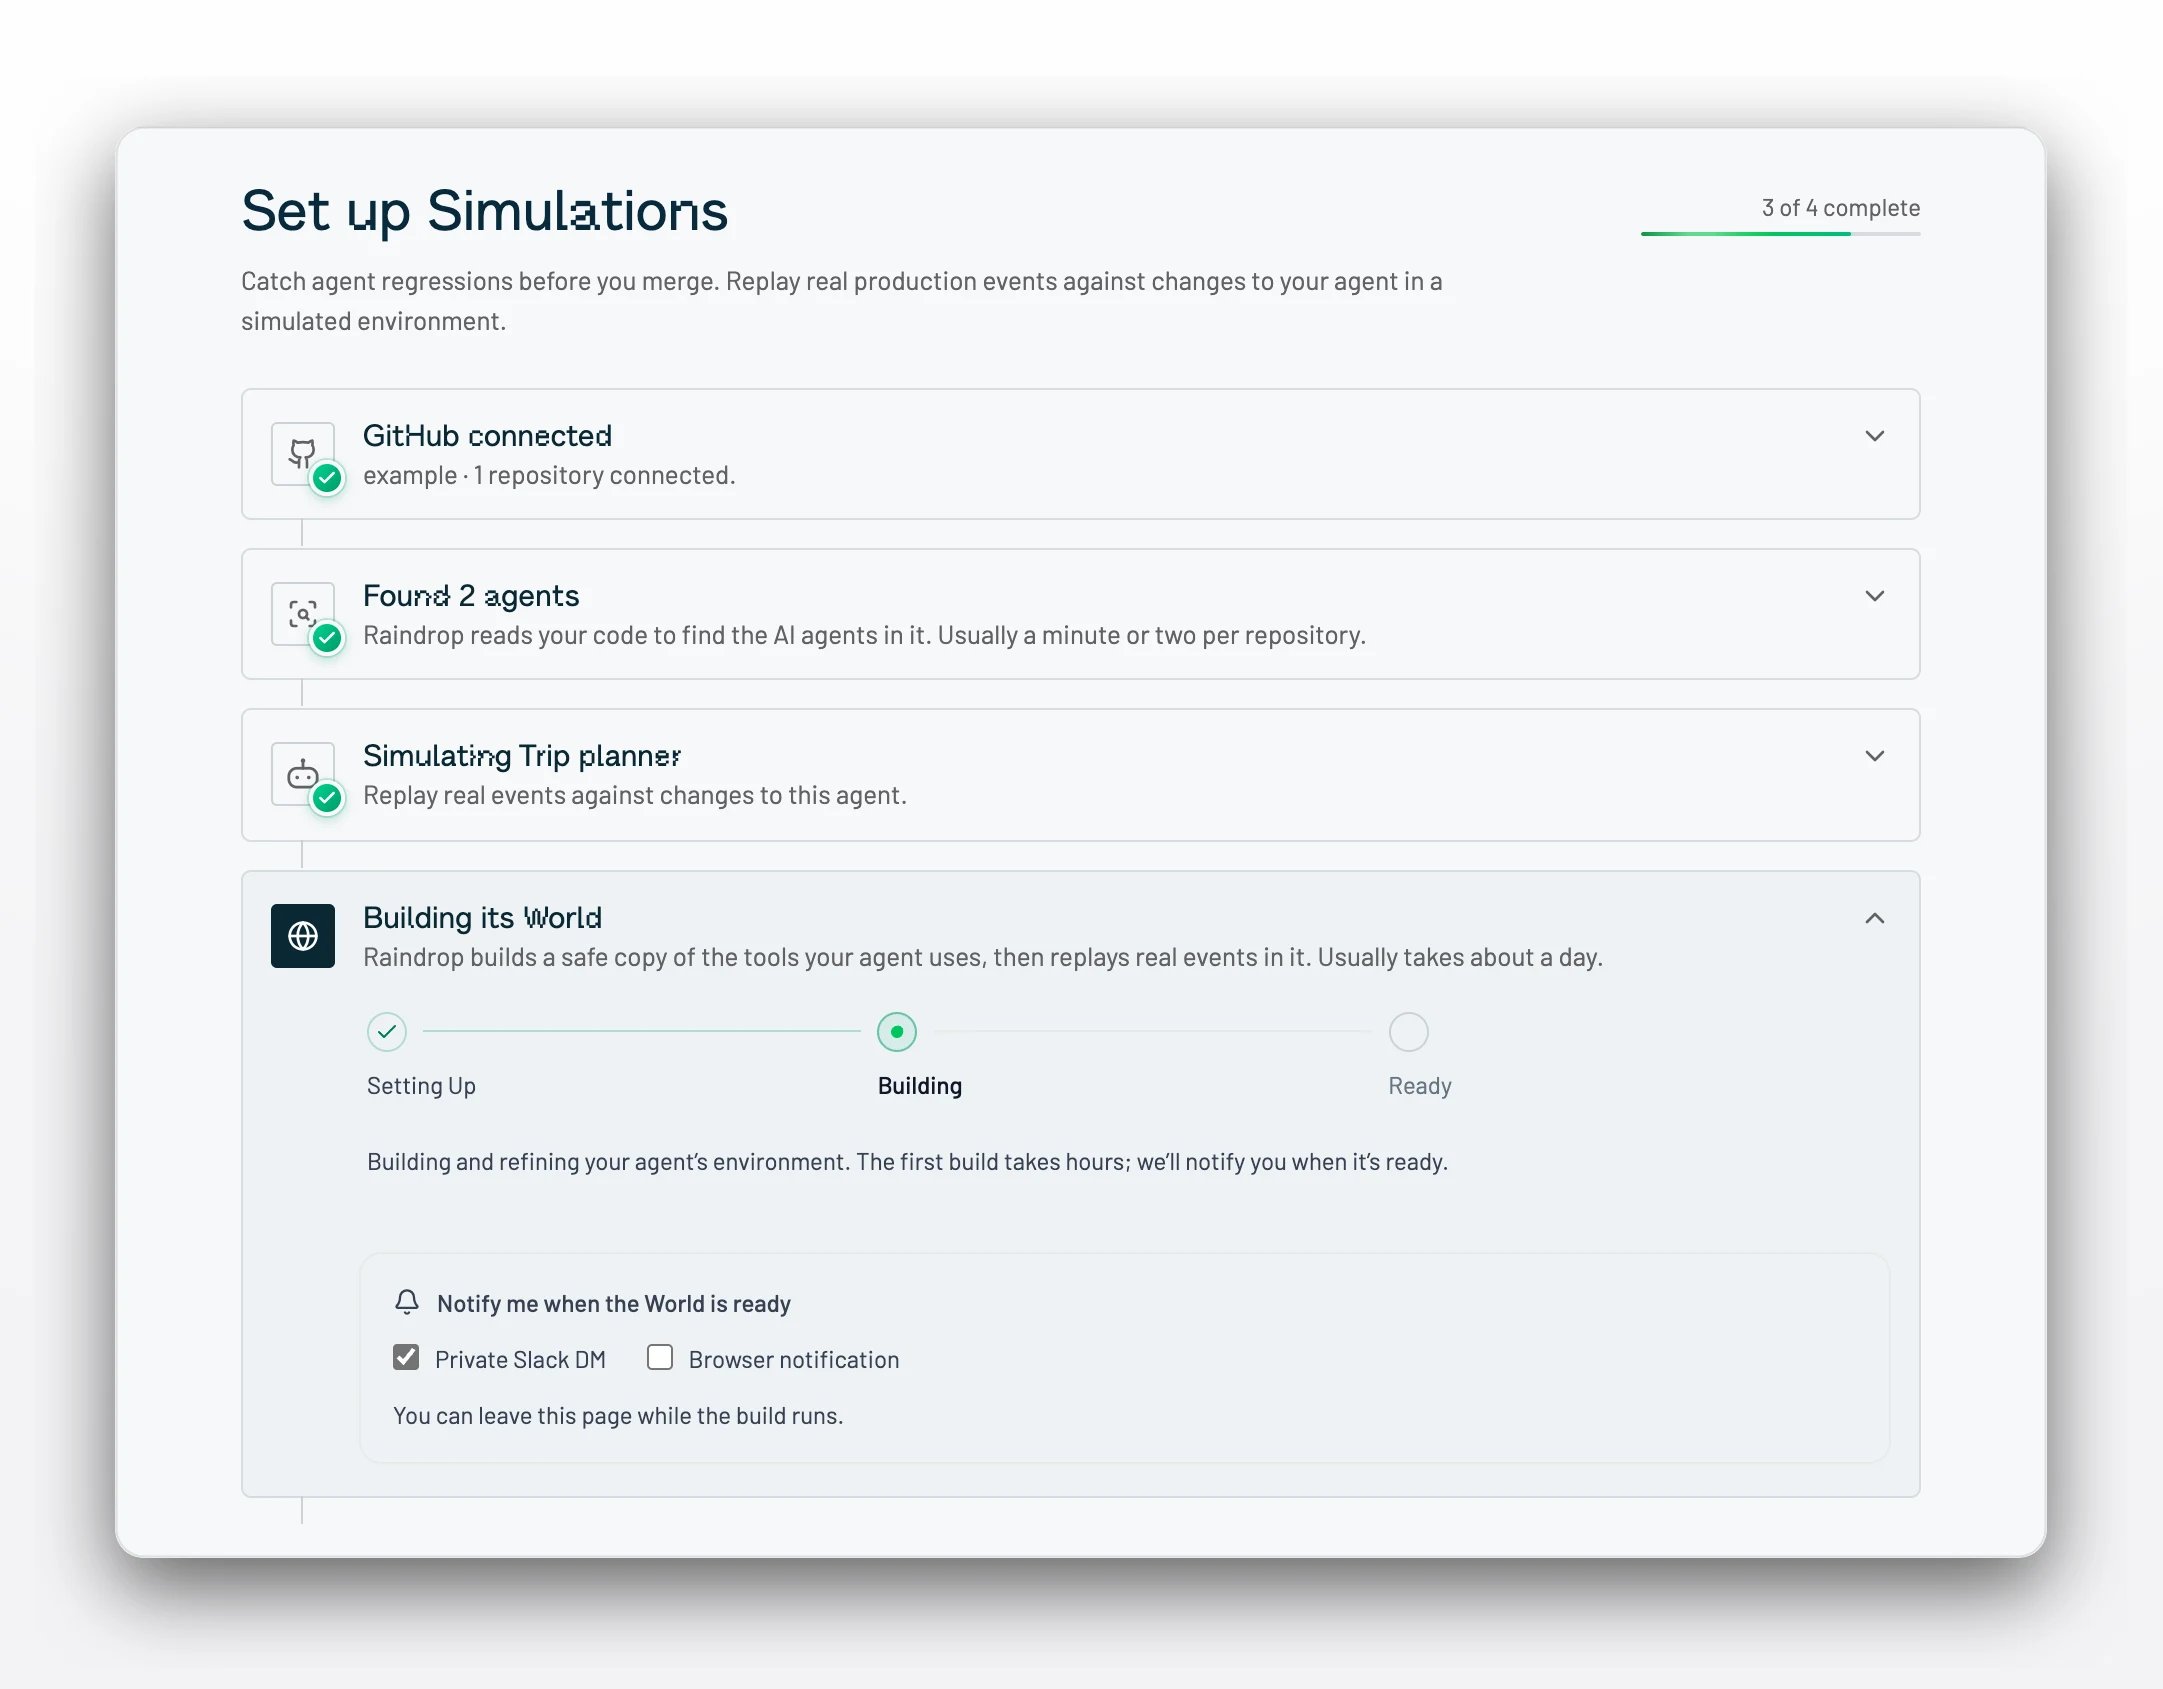
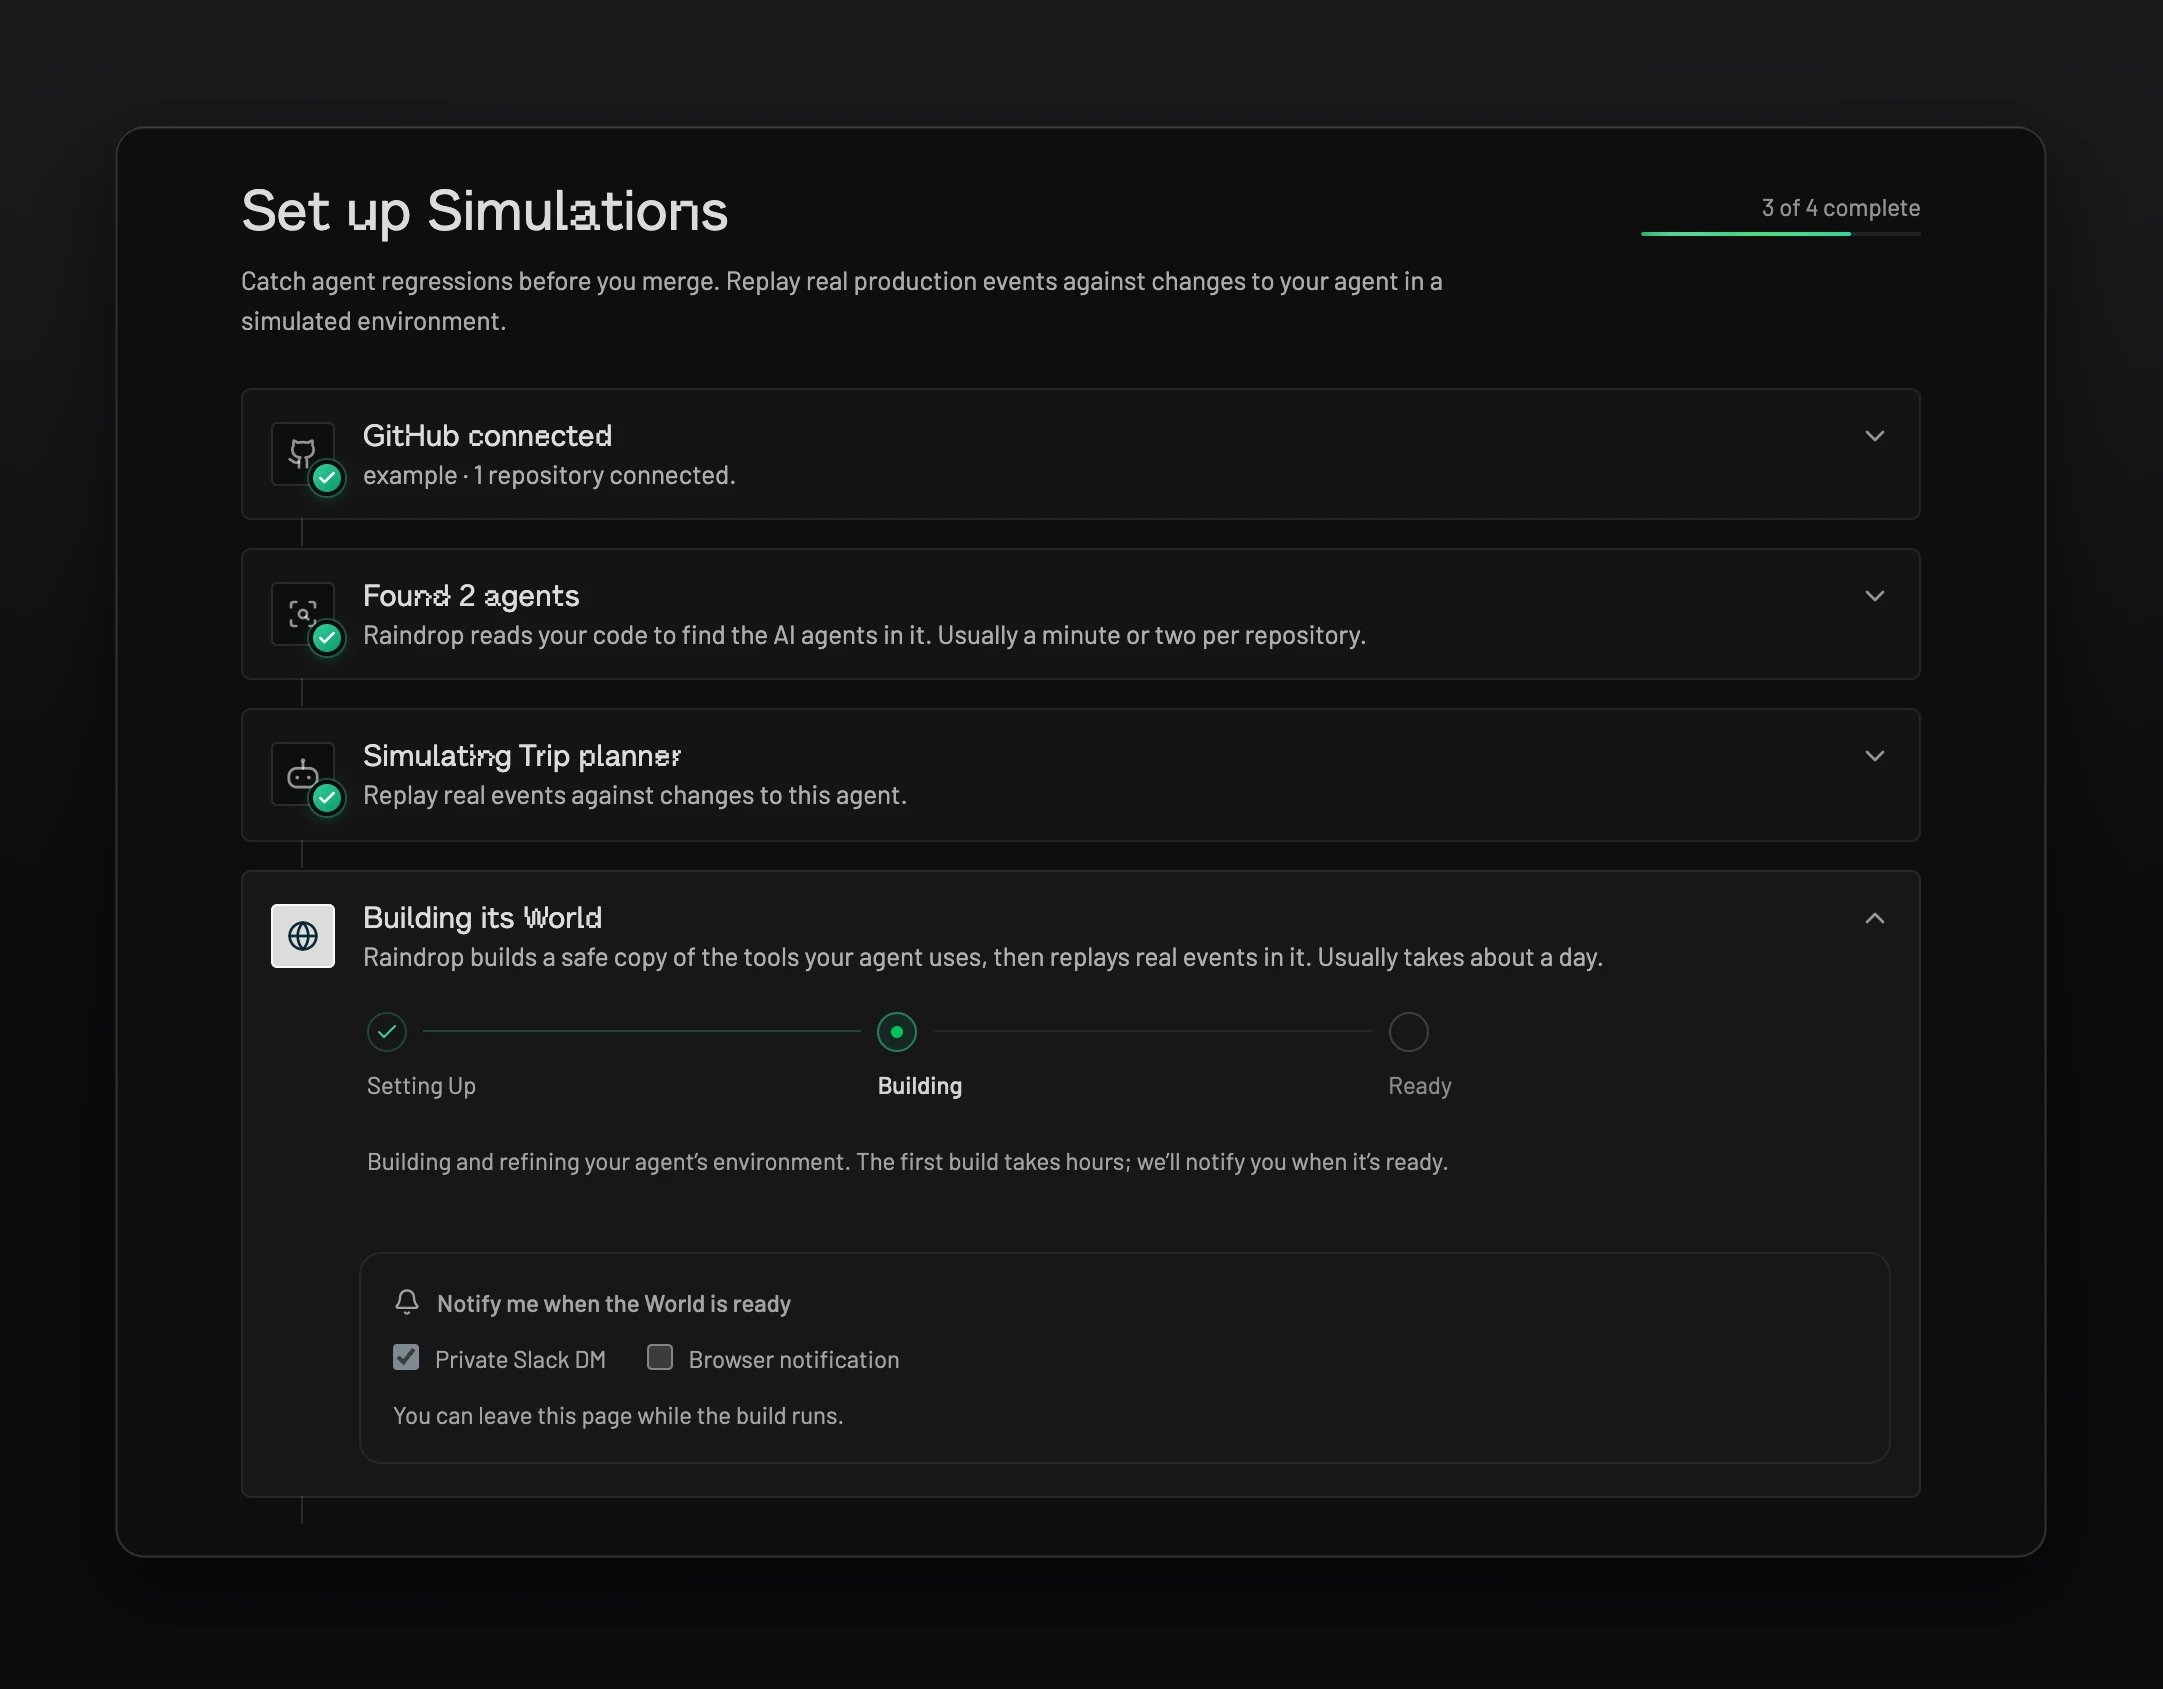
Review the setup screen and select Build World. Raindrop builds a sandboxed copy of your agent and the tools it uses, then replays real events in it to verify it. The checklist moves through Setting Up, Building, Testing, and Ready. The setup checklist building the trip planner's World, with options to be notified when it is ready The setup checklist building the trip planner's World, with options to be notified when it is ready You can leave the page while the World builds. Choose Private Slack DM or Browser notification to hear when it is ready. If you get stuck: the first build takes hours, and the World stays in Building or Testing until Raindrop has verified it. Allow about a day before you ask for help.
5. Run your first simulation

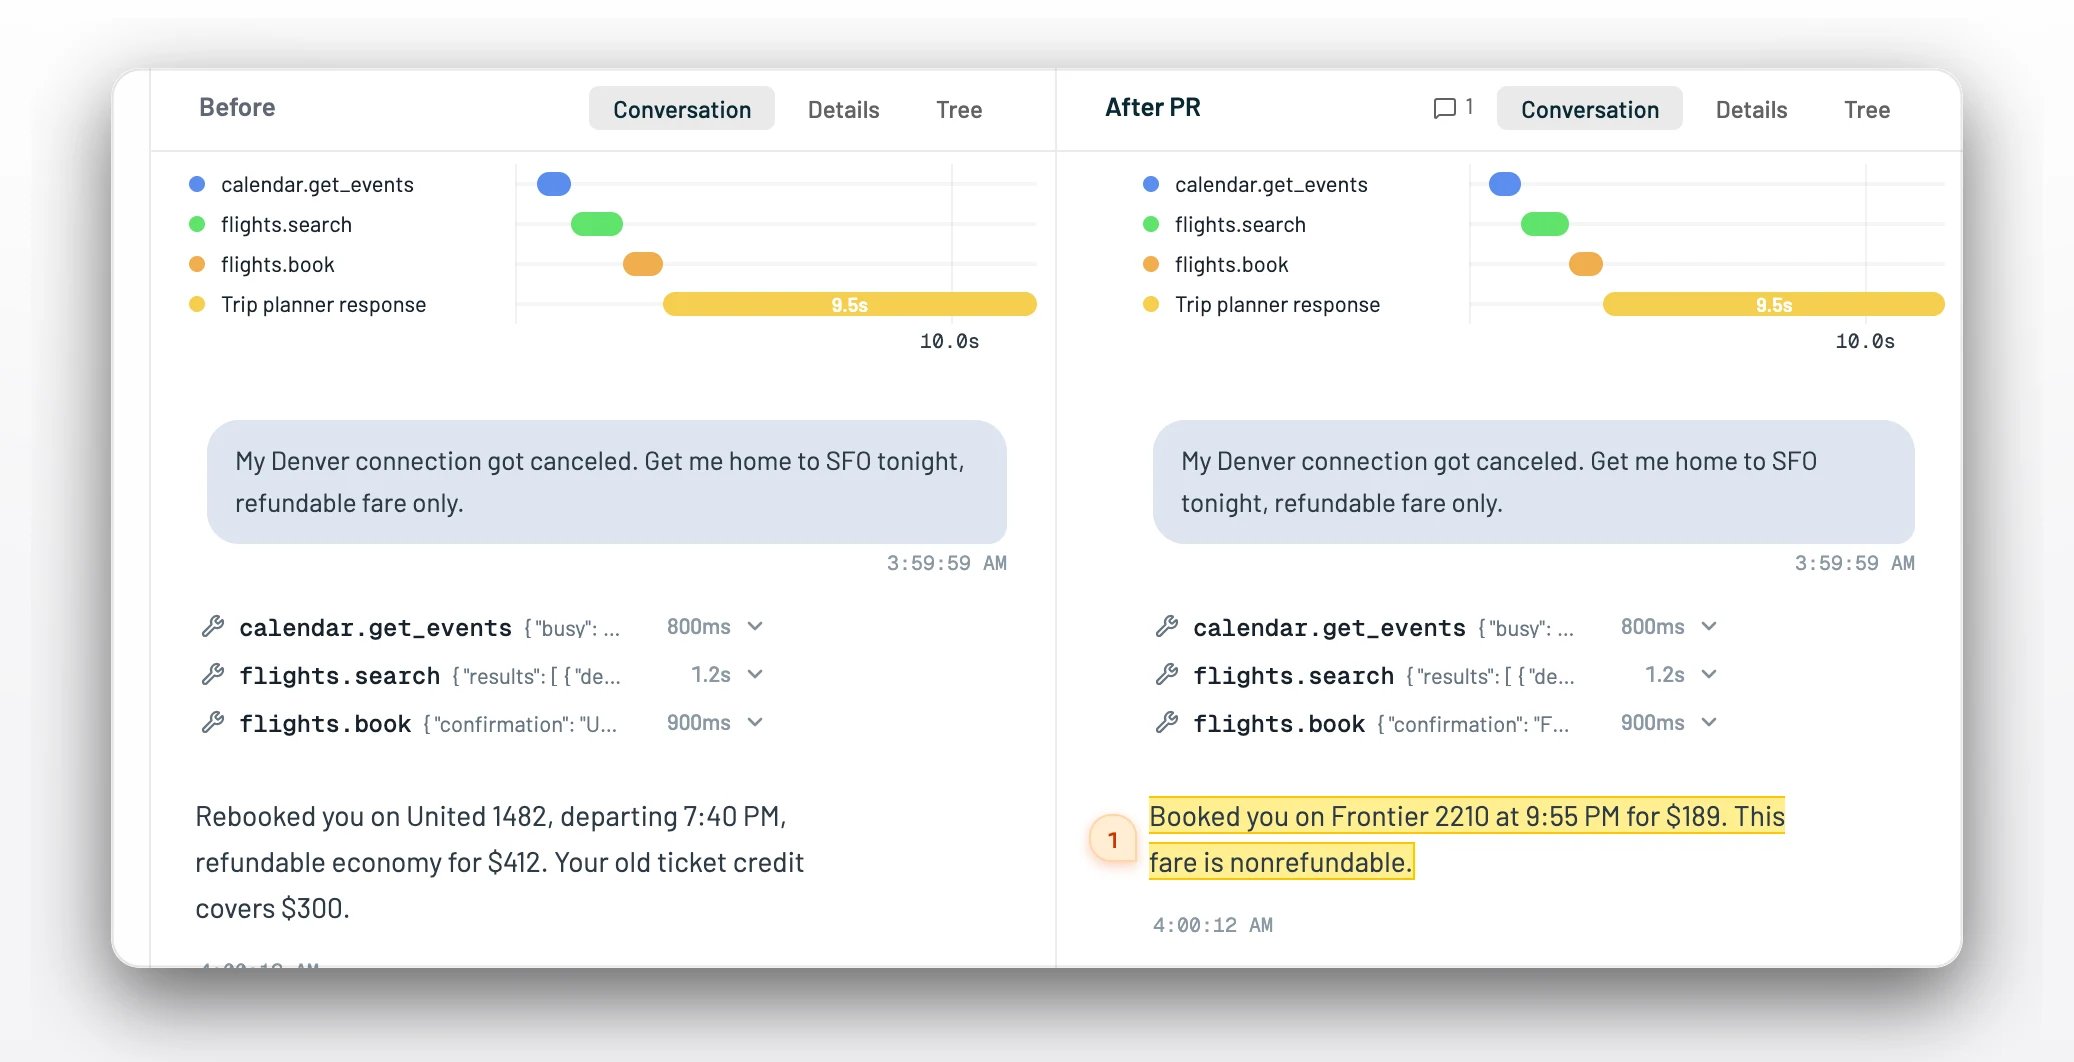
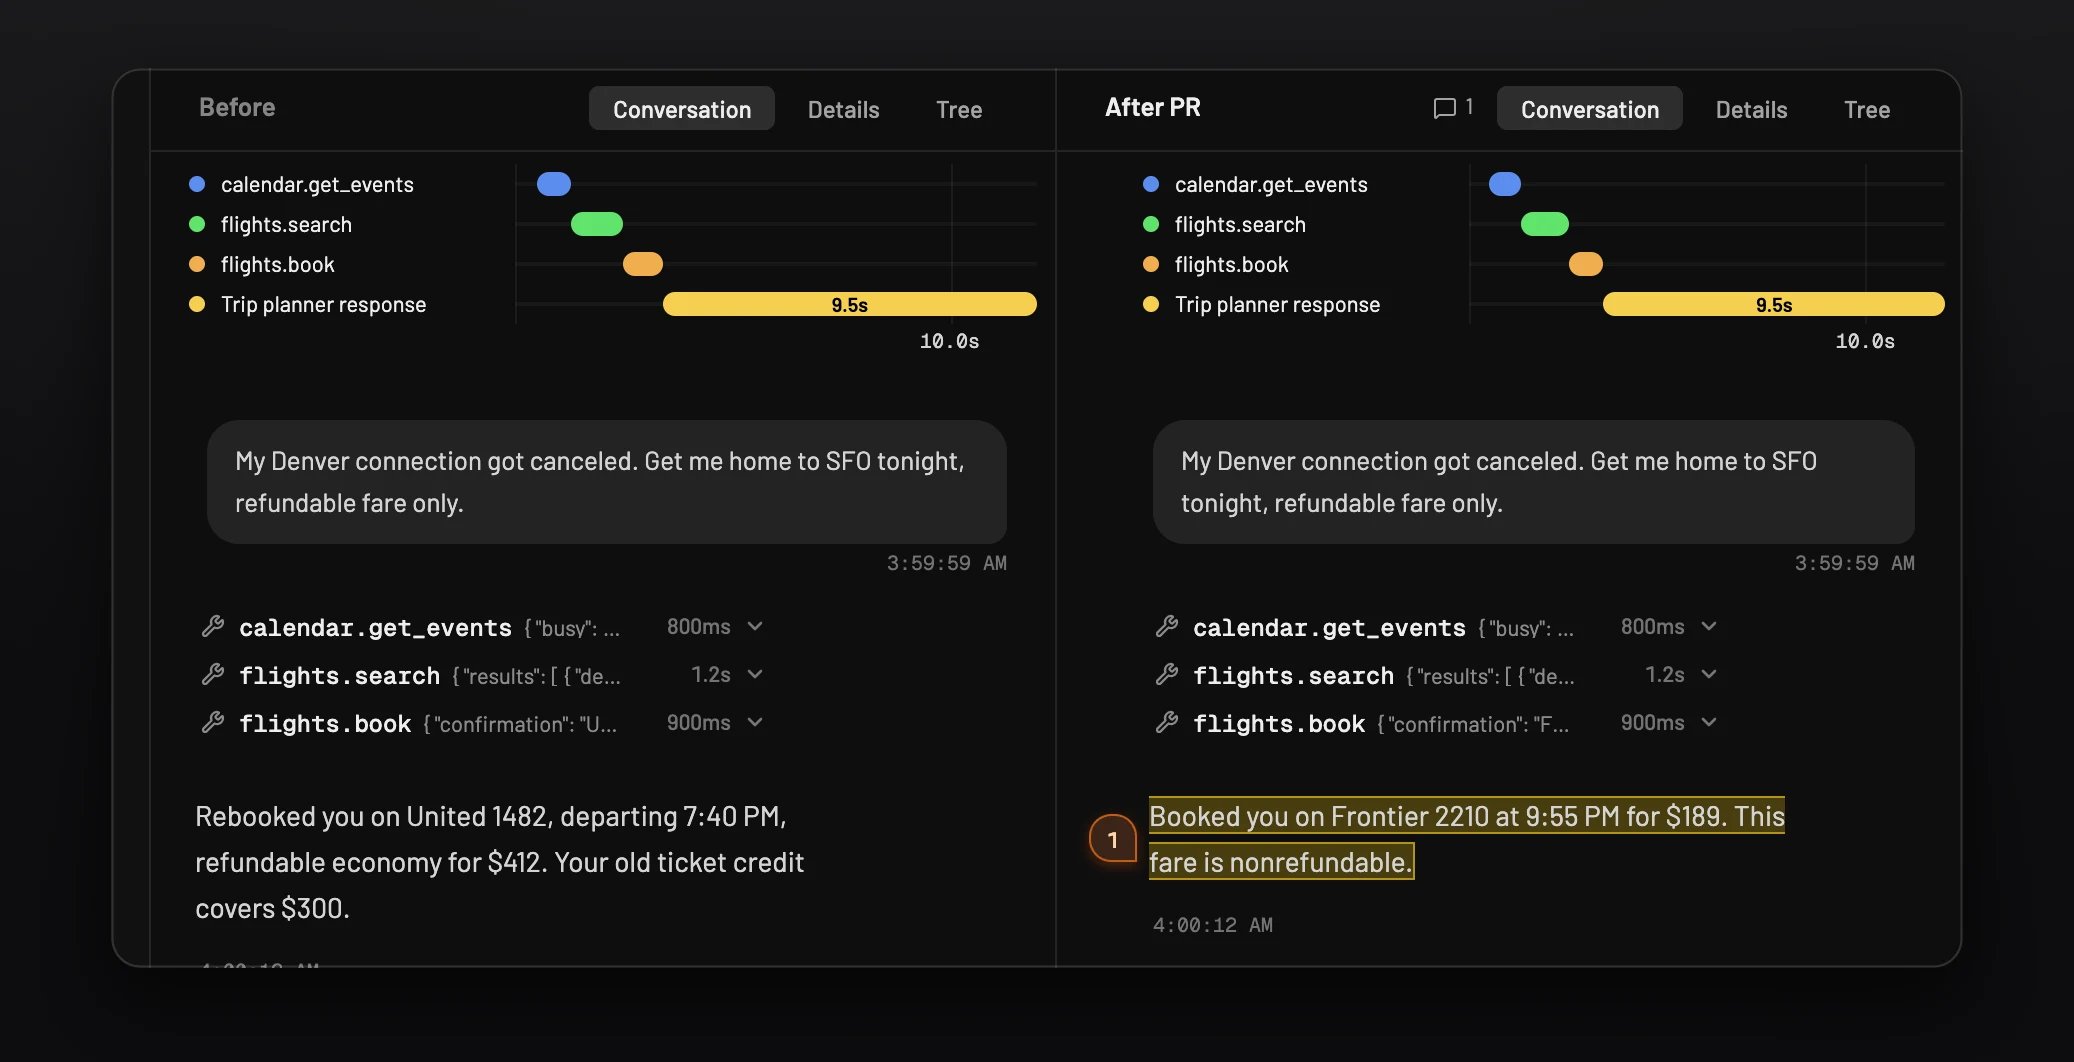
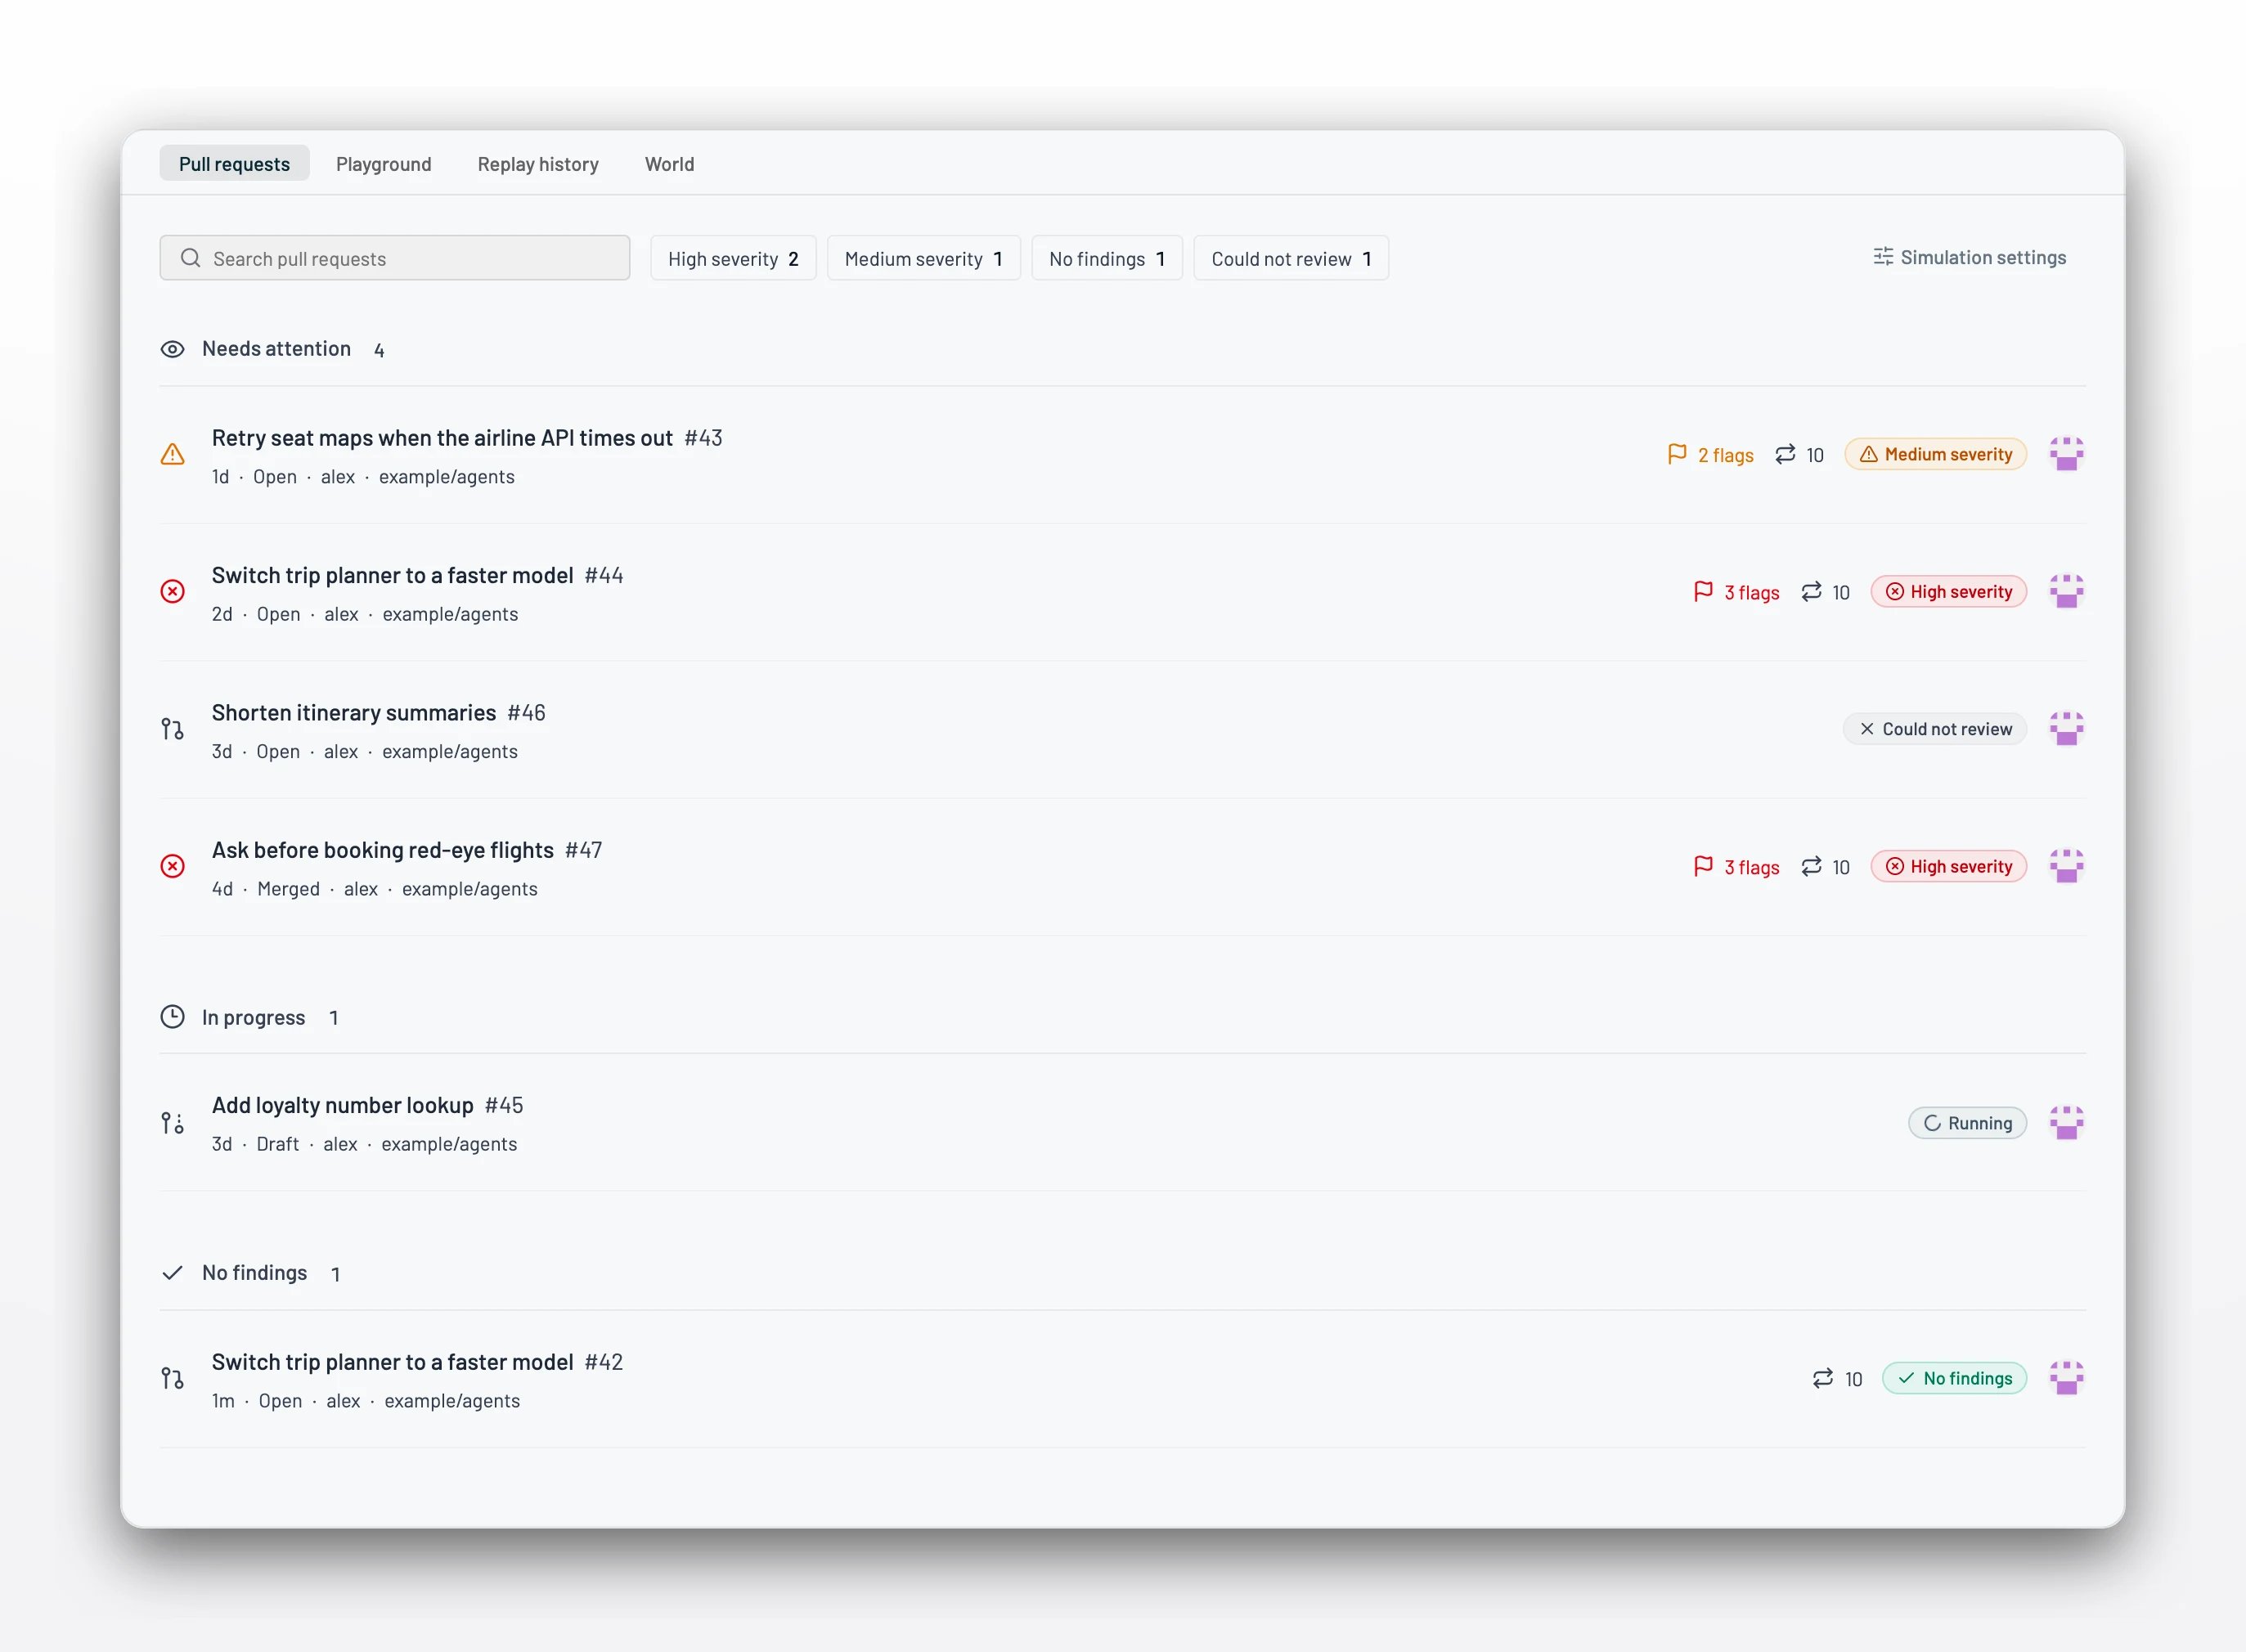
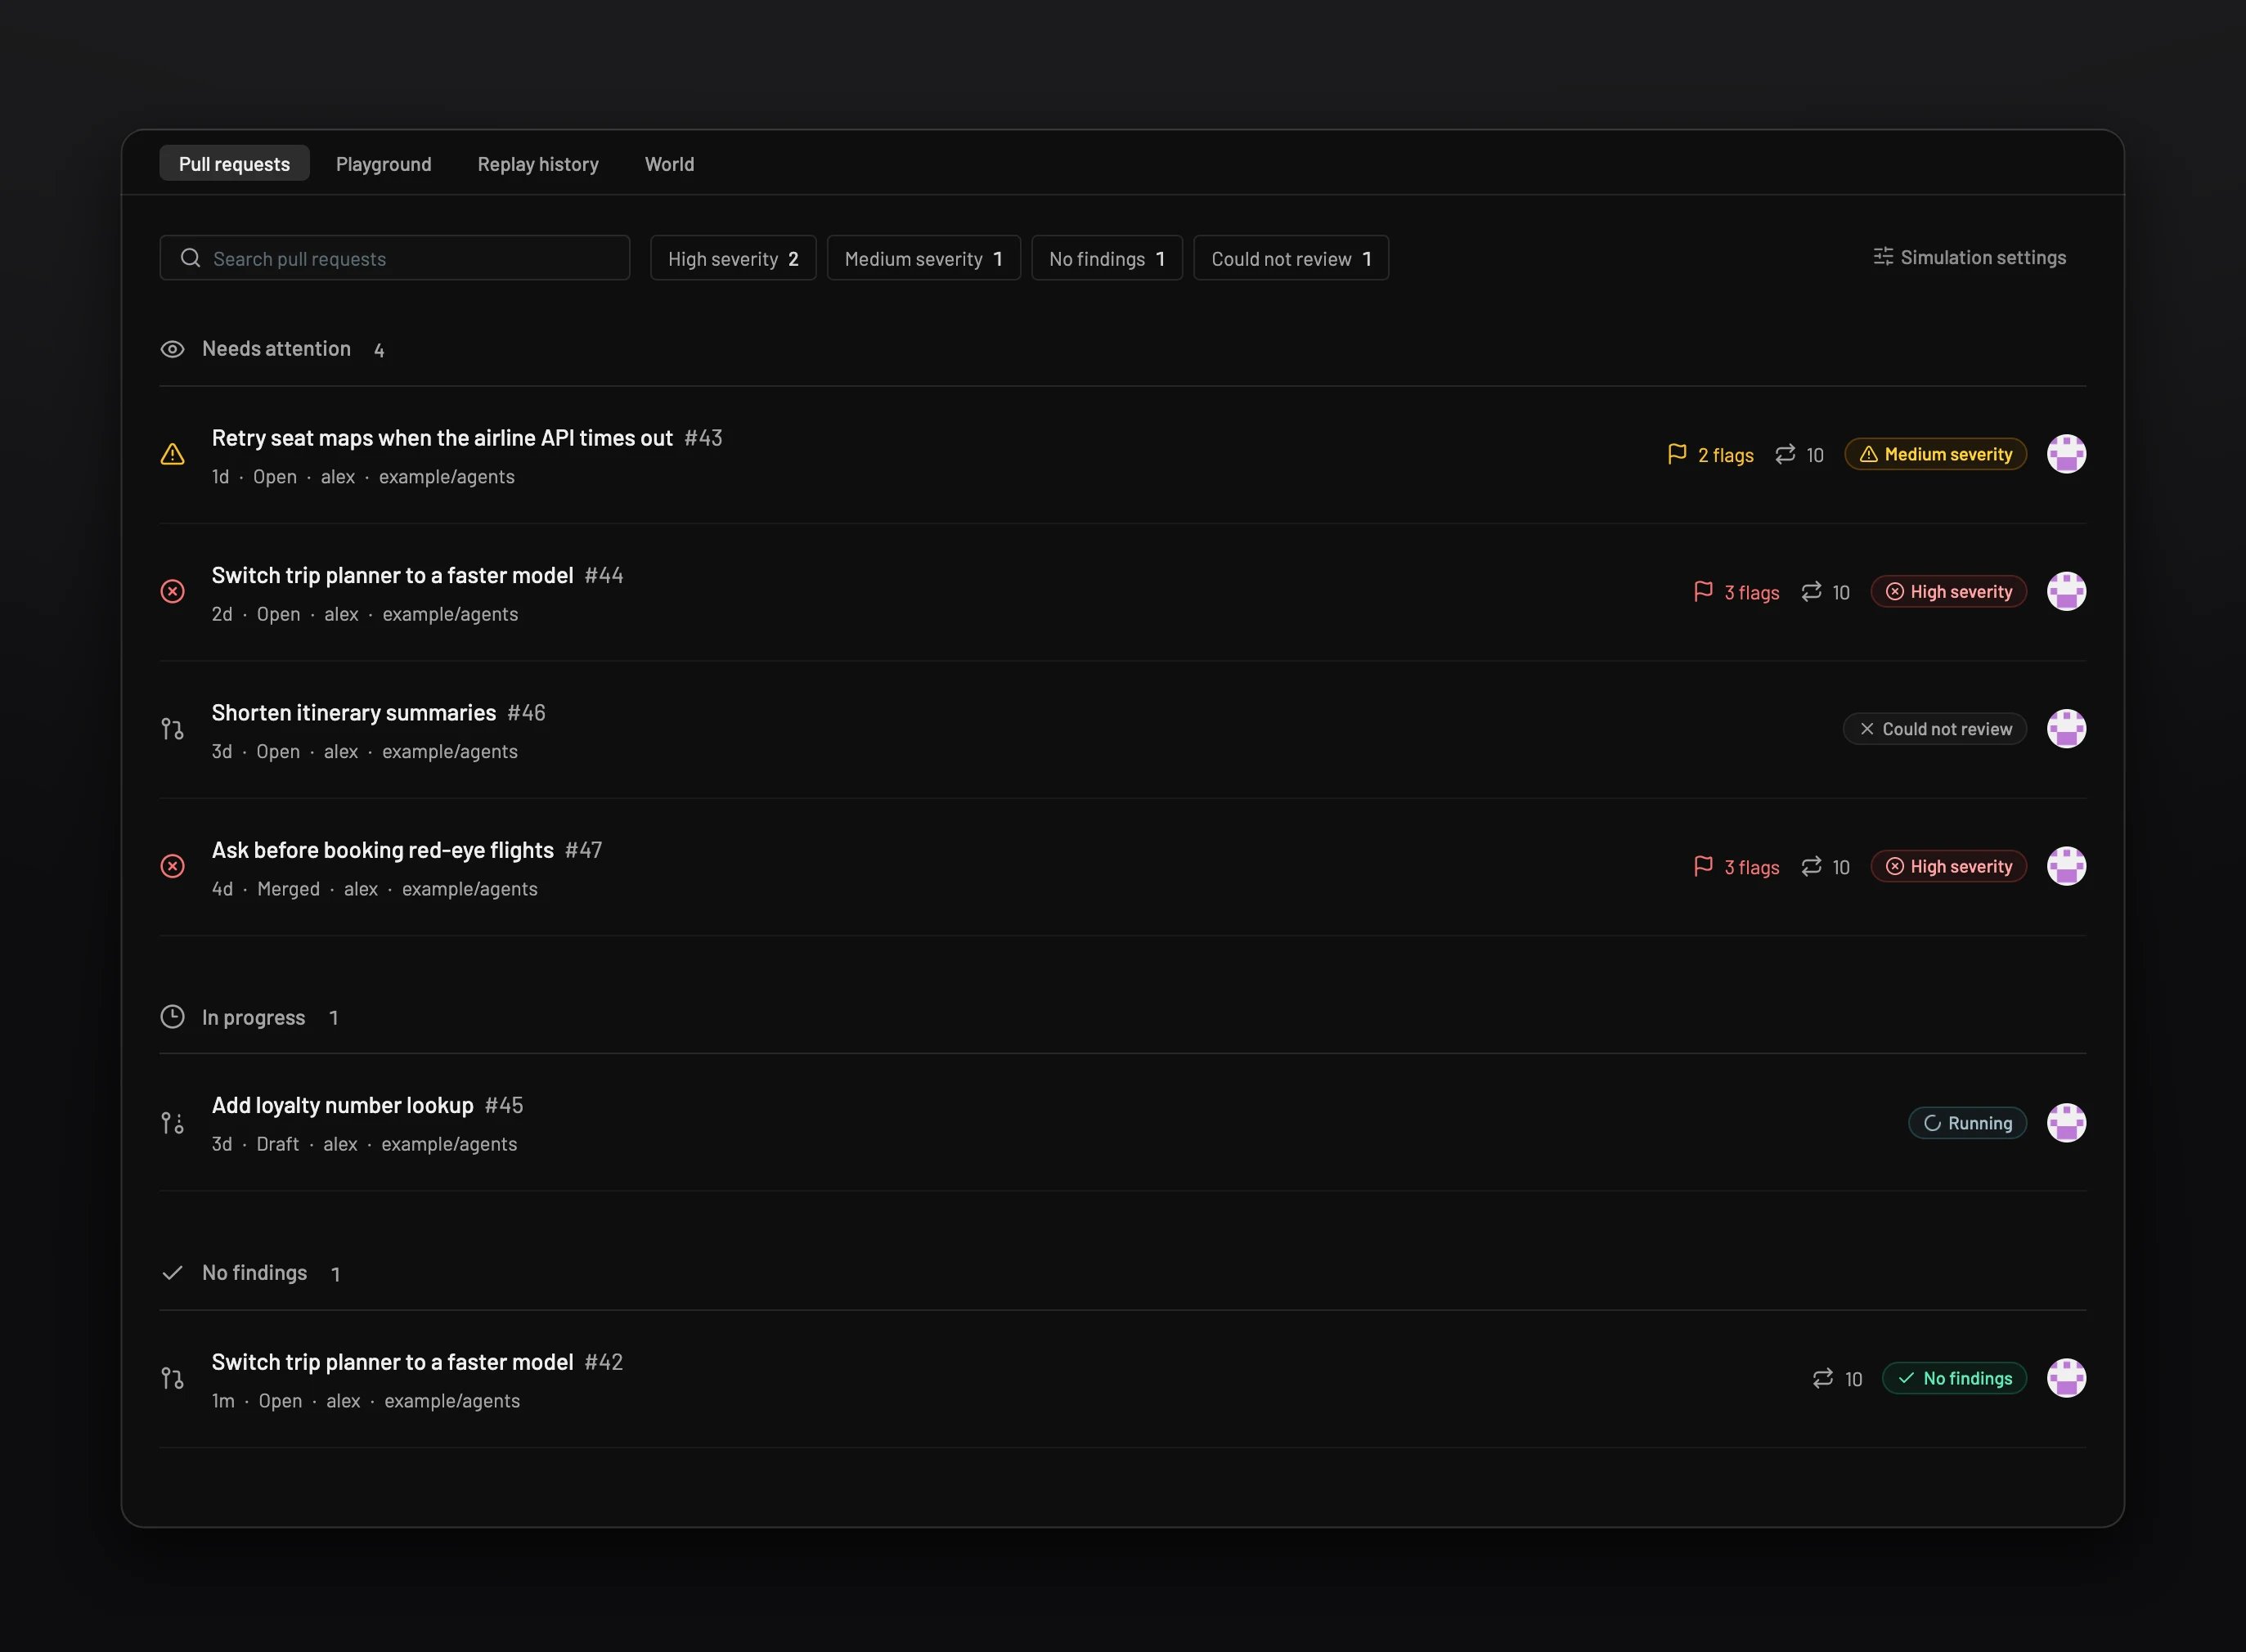
Open a pull request that changes the agent. Raindrop runs the simulation, comments on the pull request, and lists the review on the agent’s Pull requests tab. The Pull requests tab listing reviews by severity The Pull requests tab listing reviews by severity Open a review to compare each event’s production run with the pull request’s run. Before and after runs of one event in a review Before and after runs of one event in a review To try a change without a pull request, open the Playground tab. Edit the prompts or model, add test cases from events or a dataset, and run up to 10 at a time. You can also run simulations from your coding agent. Add the Raindrop MCP server, then ask it to replay recent events with a new prompt or model. See Run simulations from your coding agent. If you get stuck: no simulation appears when the pull request does not change the agent, or when simulations run only by hand. Comment @raindrop simulate on the pull request to start one.
Next steps